
Sensor-Based Control: Condition Loops
Learning Objective
Discover the most powerful feature of the Rule Engine: Condition Loops. Learn how to trigger actions based on what the sensors are detecting, making the MakerBuddy truly autonomous — reacting to the real world on its own!
Theory: Teaching the MakerBuddy to React
What is a Condition Loop?
We have learned how to tell the MakerBuddy to do something once, forever, or on a timer. But the real magic of IoT automation happens when the MakerBuddy reacts to its environment!
A Condition Loop constantly watches a sensor value in the background. The moment that sensor crosses a threshold you define, the rule fires and runs your steps. Think of it like a smoke alarm — it listens all day and does nothing. The moment it smells smoke, BEEP BEEP BEEP!
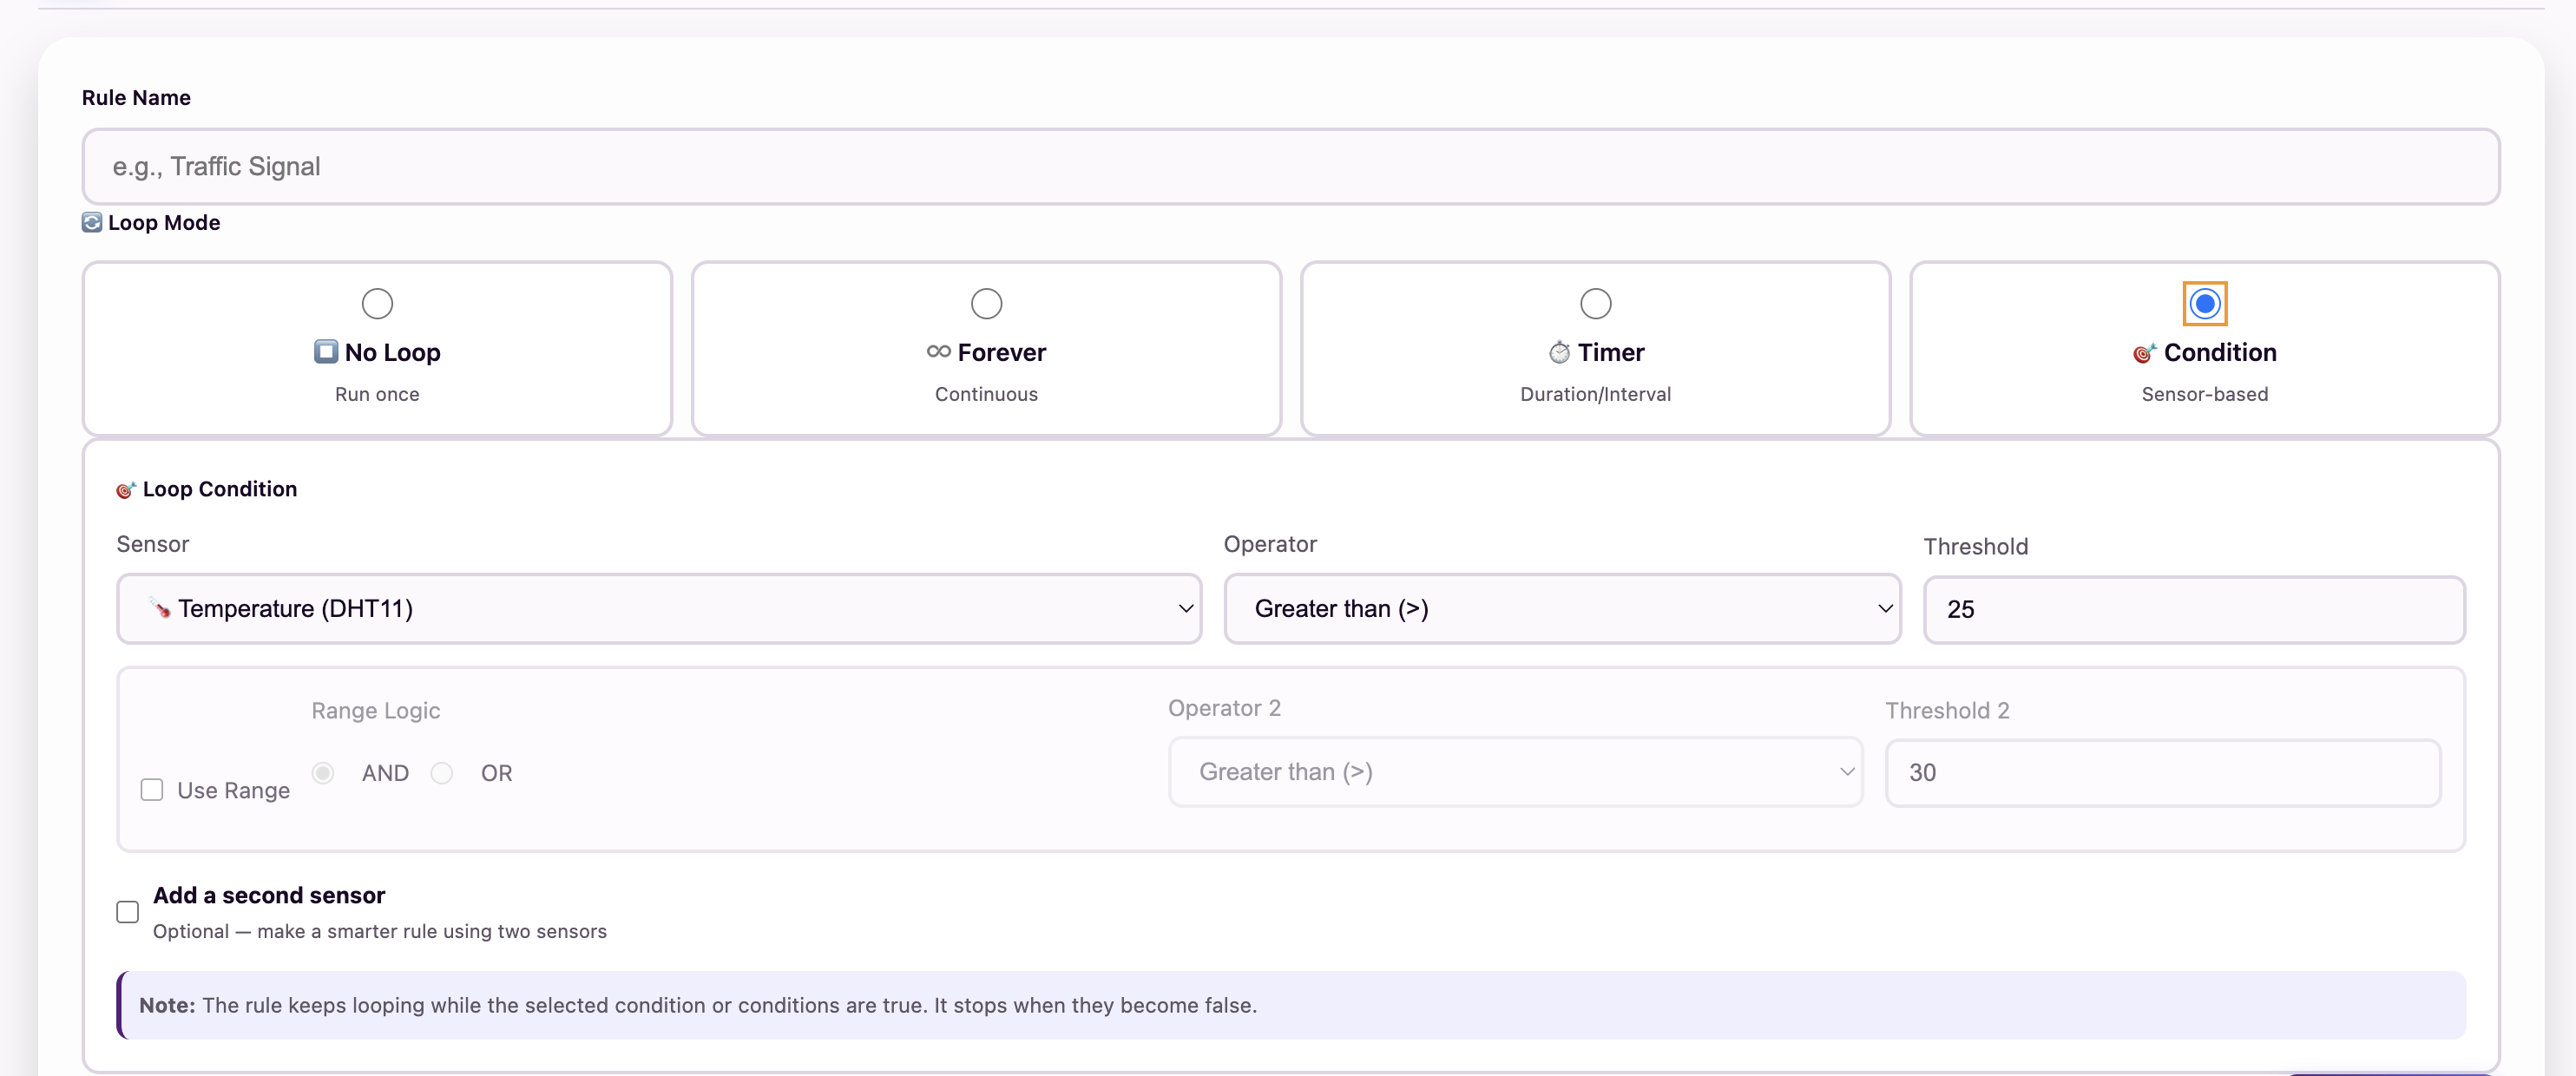
Select Condition to reveal the sensor, operator and threshold controls.
The Four Steps of Building a Condition Rule
Building a Condition rule requires you to think through the problem logically. Follow these four steps:
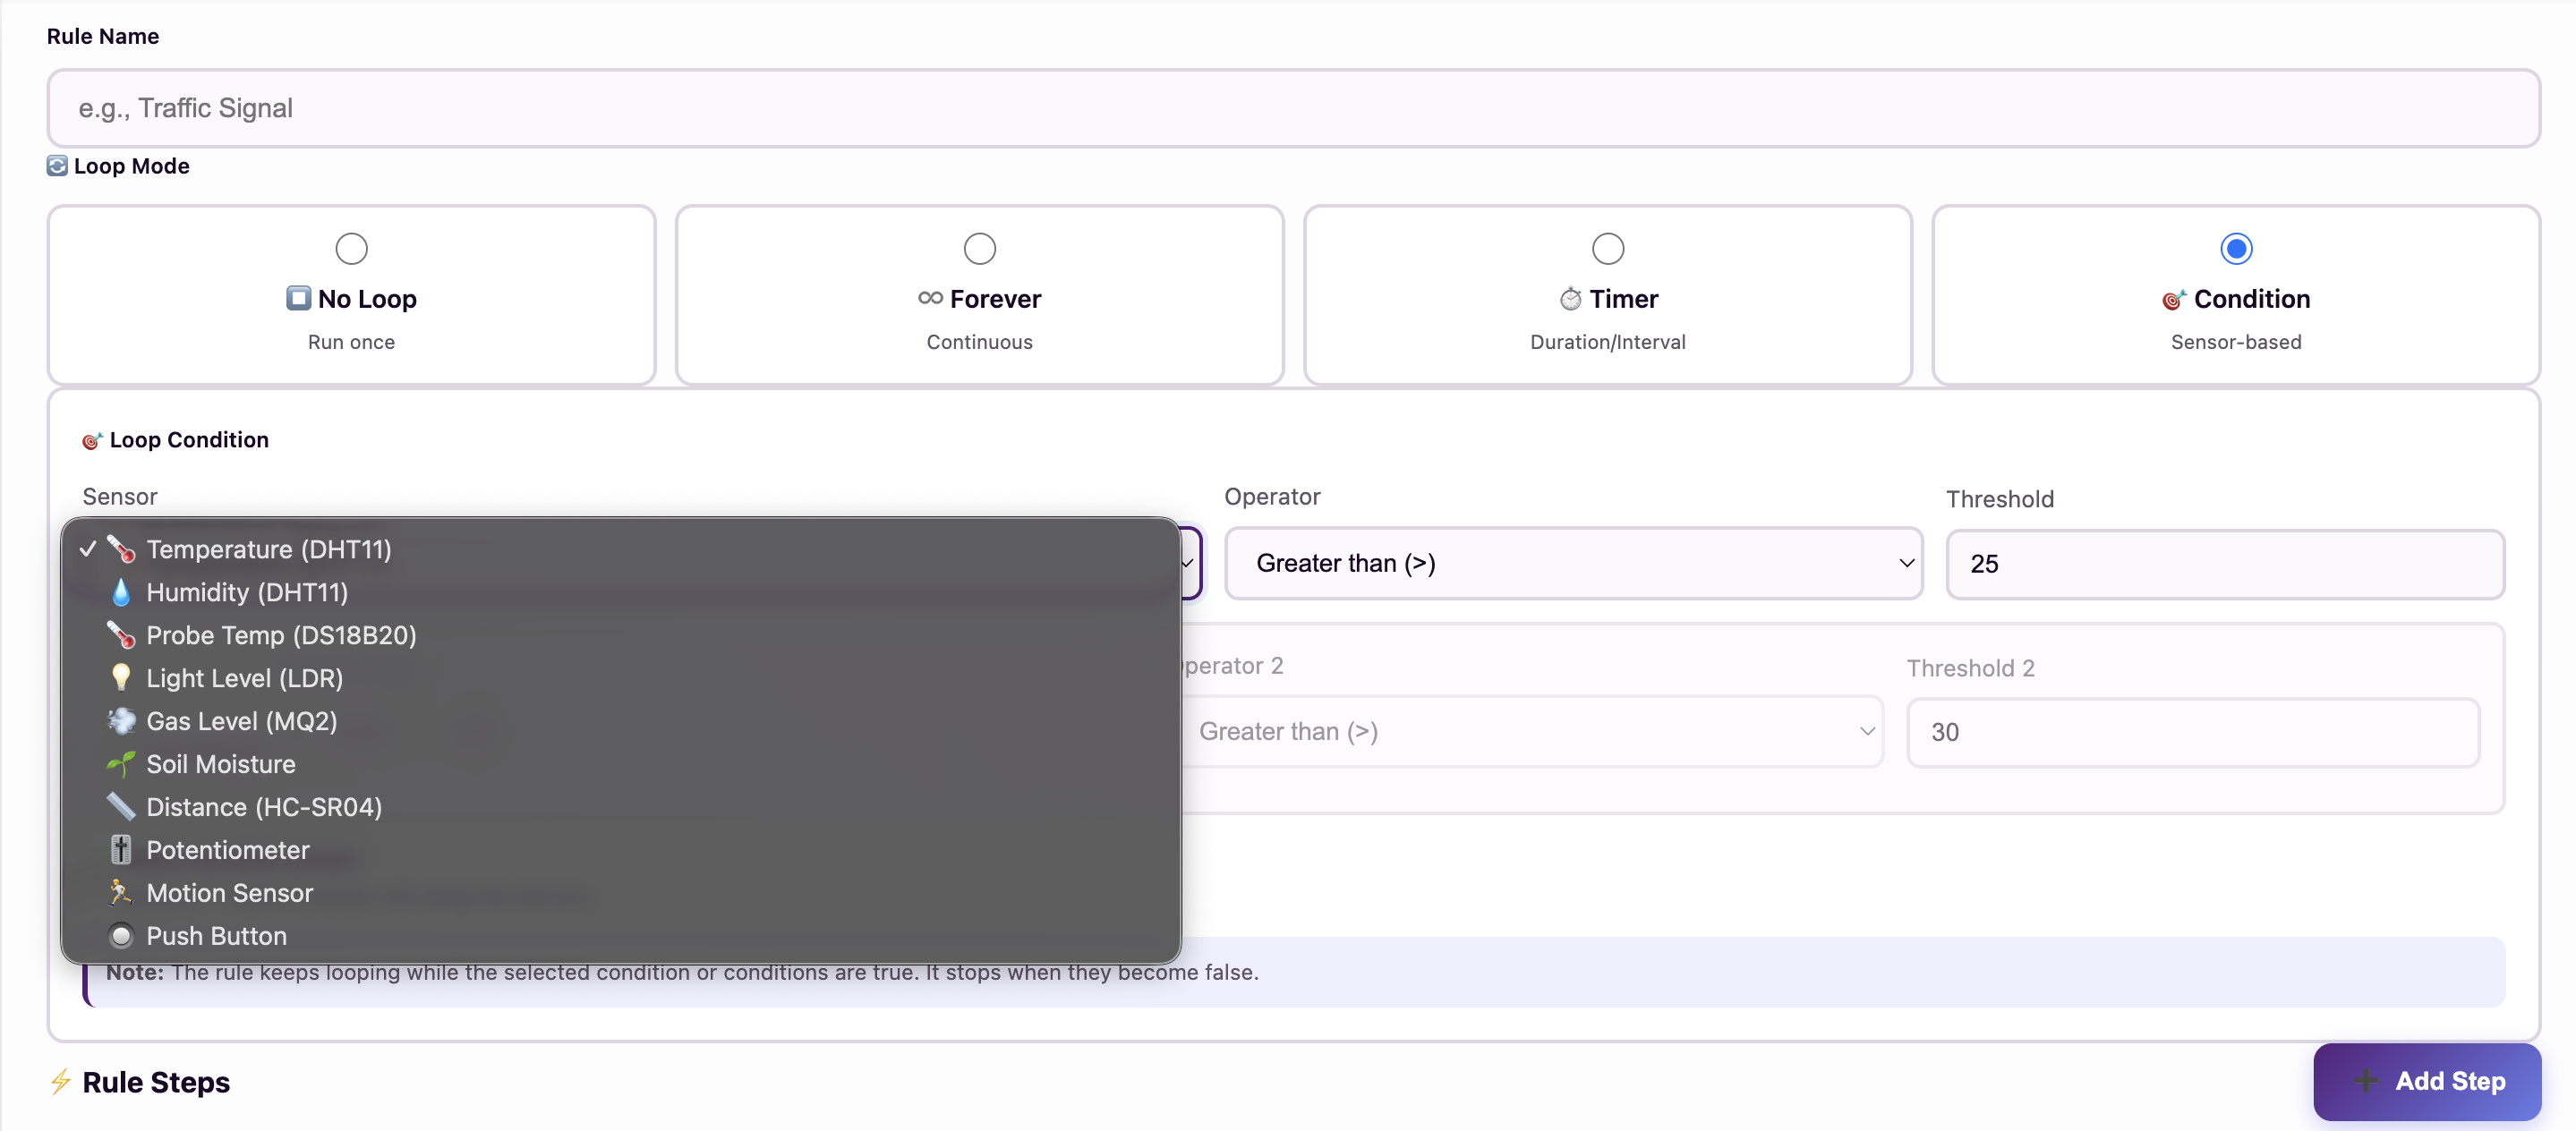
1. Choose the Sensor (Input)
Select which sensor to monitor. Available sensors include: Temperature, Humidity, Light (LDR), Gas (MQ-2), Distance (Ultrasonic), Soil Moisture, Motion (PIR), Potentiometer, and Button.
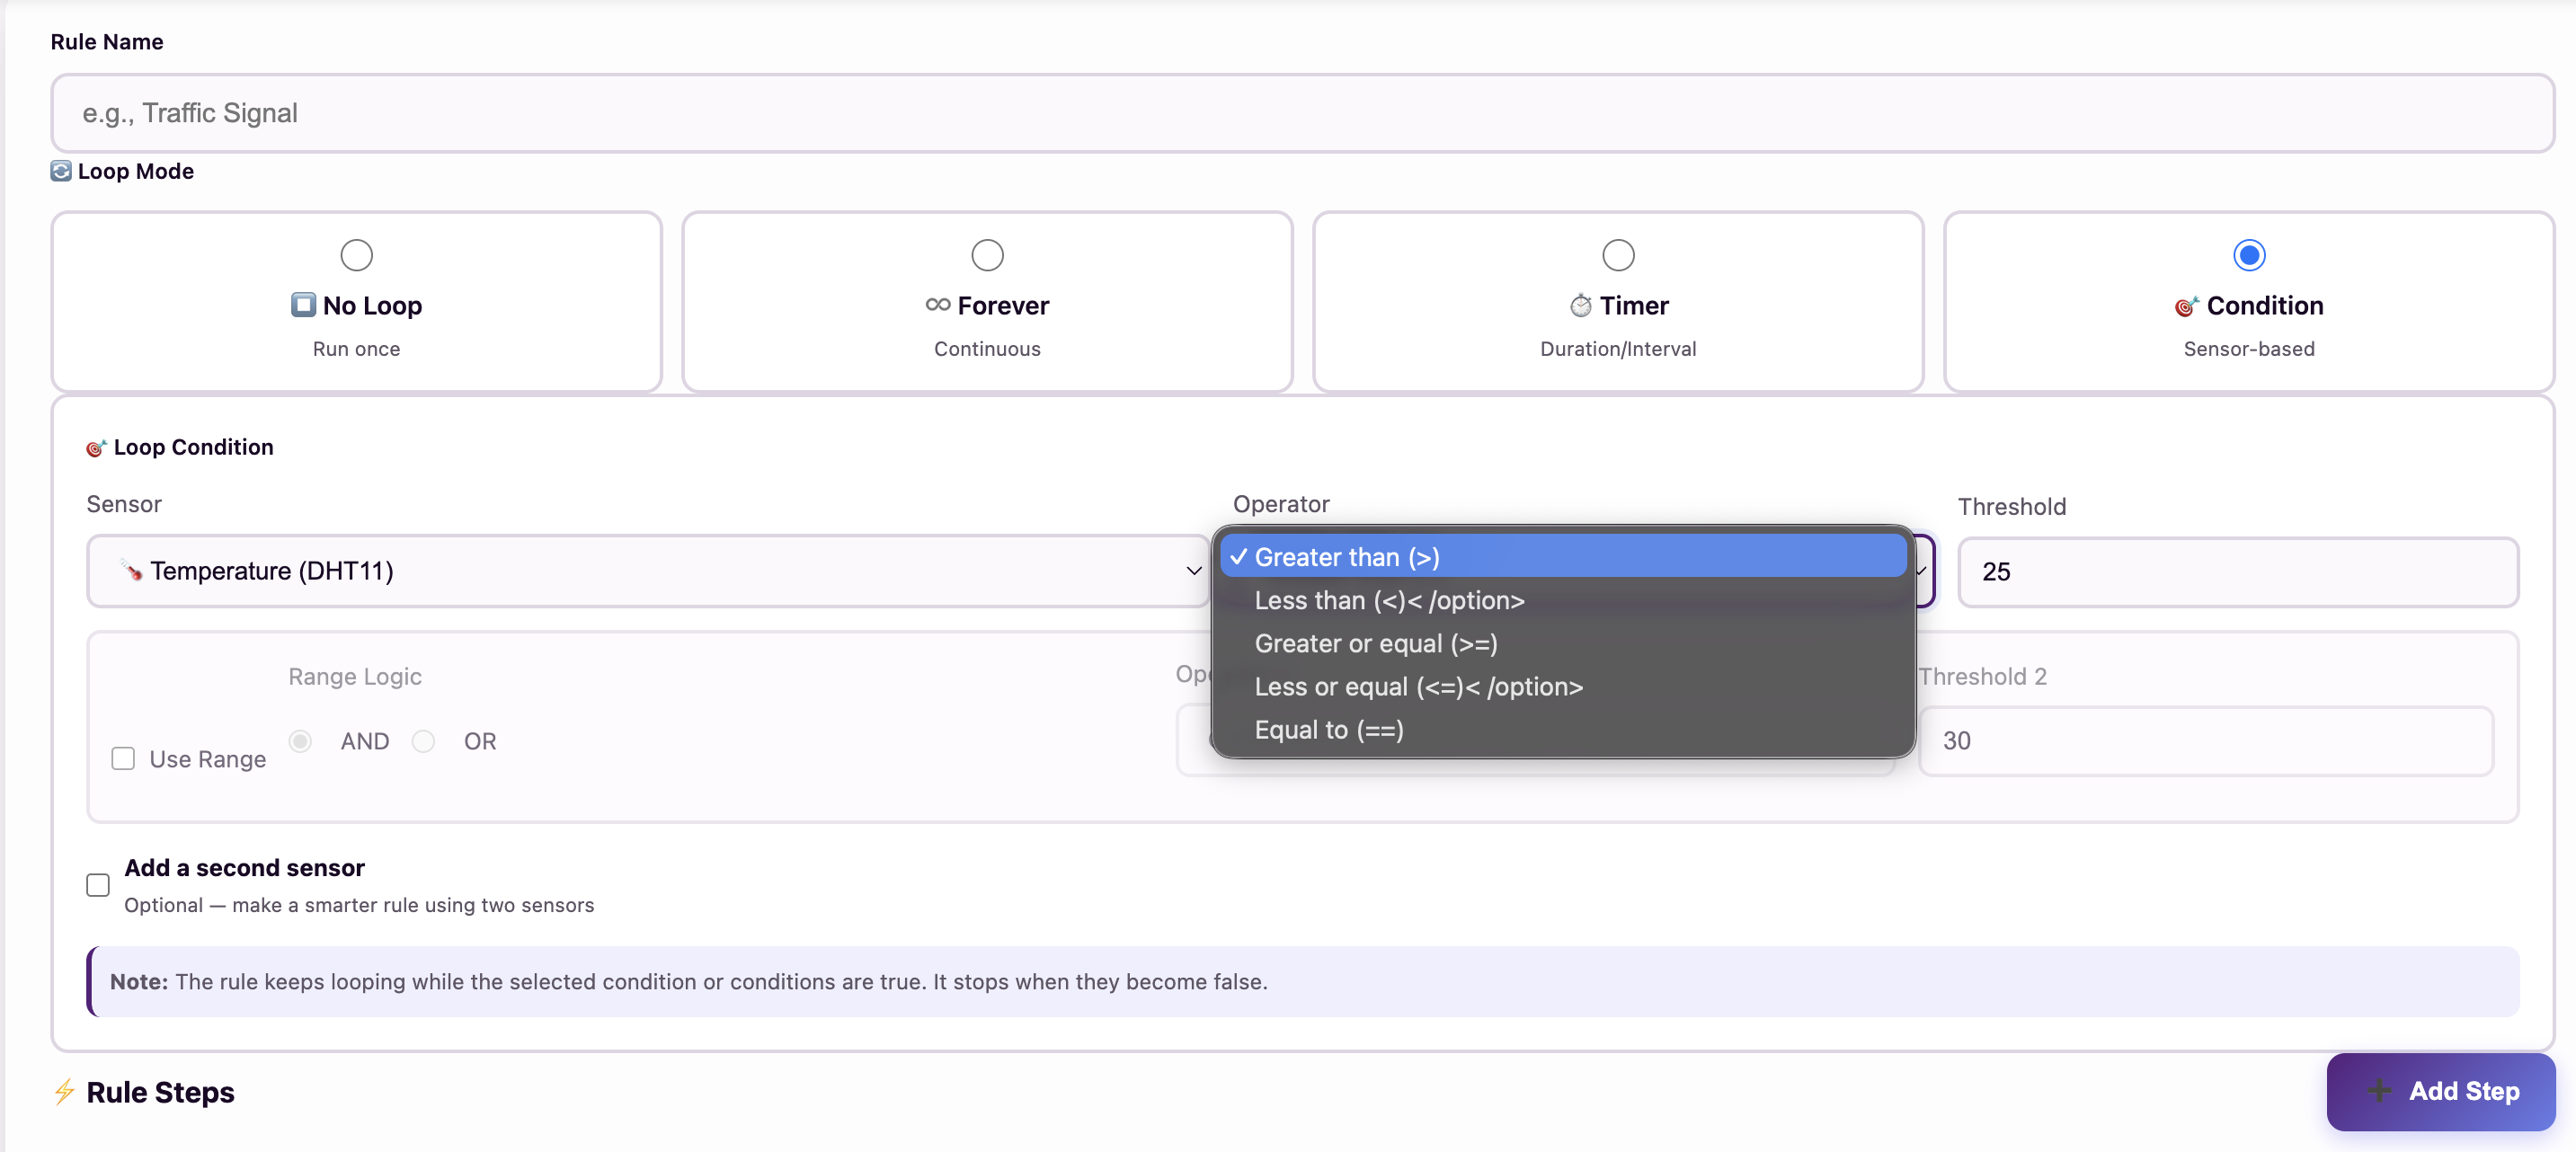
2. Set the Operator
Choose a comparison: Greater Than (>), Less Than (<), Greater/Equal (>=), Less/Equal (<=), or Equal (==). This is the "test" the MakerBuddy performs every moment.
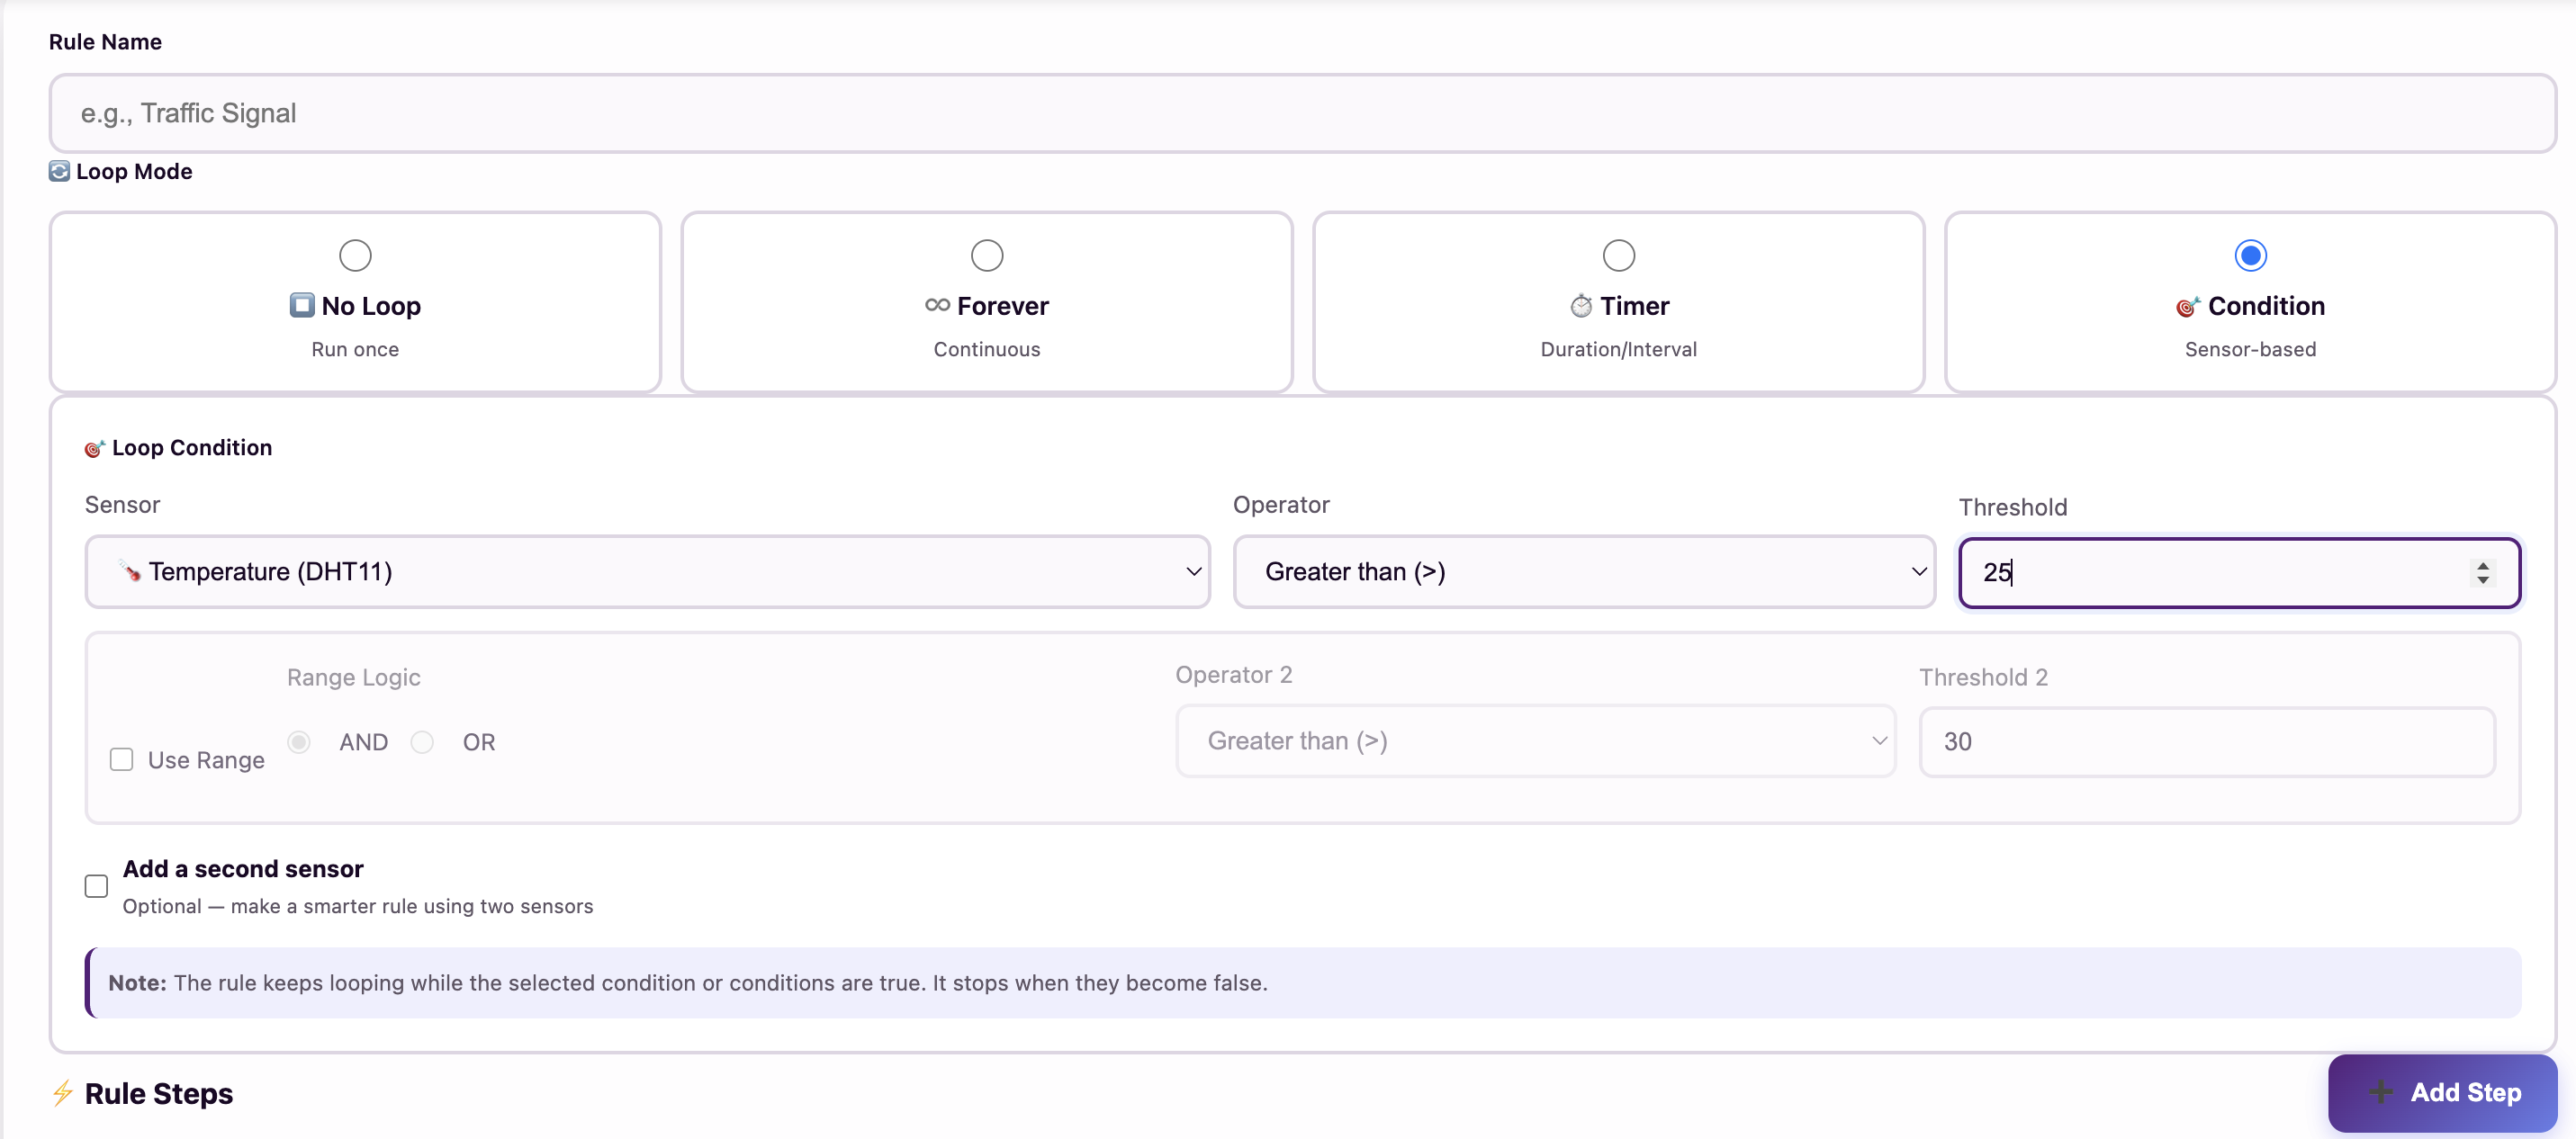
3. Define the Threshold
Pick the exact number that triggers the rule. For example: when the Light sensor reads less than 50, the room is dark. First check the Dashboard to see what your sensor normally reads!
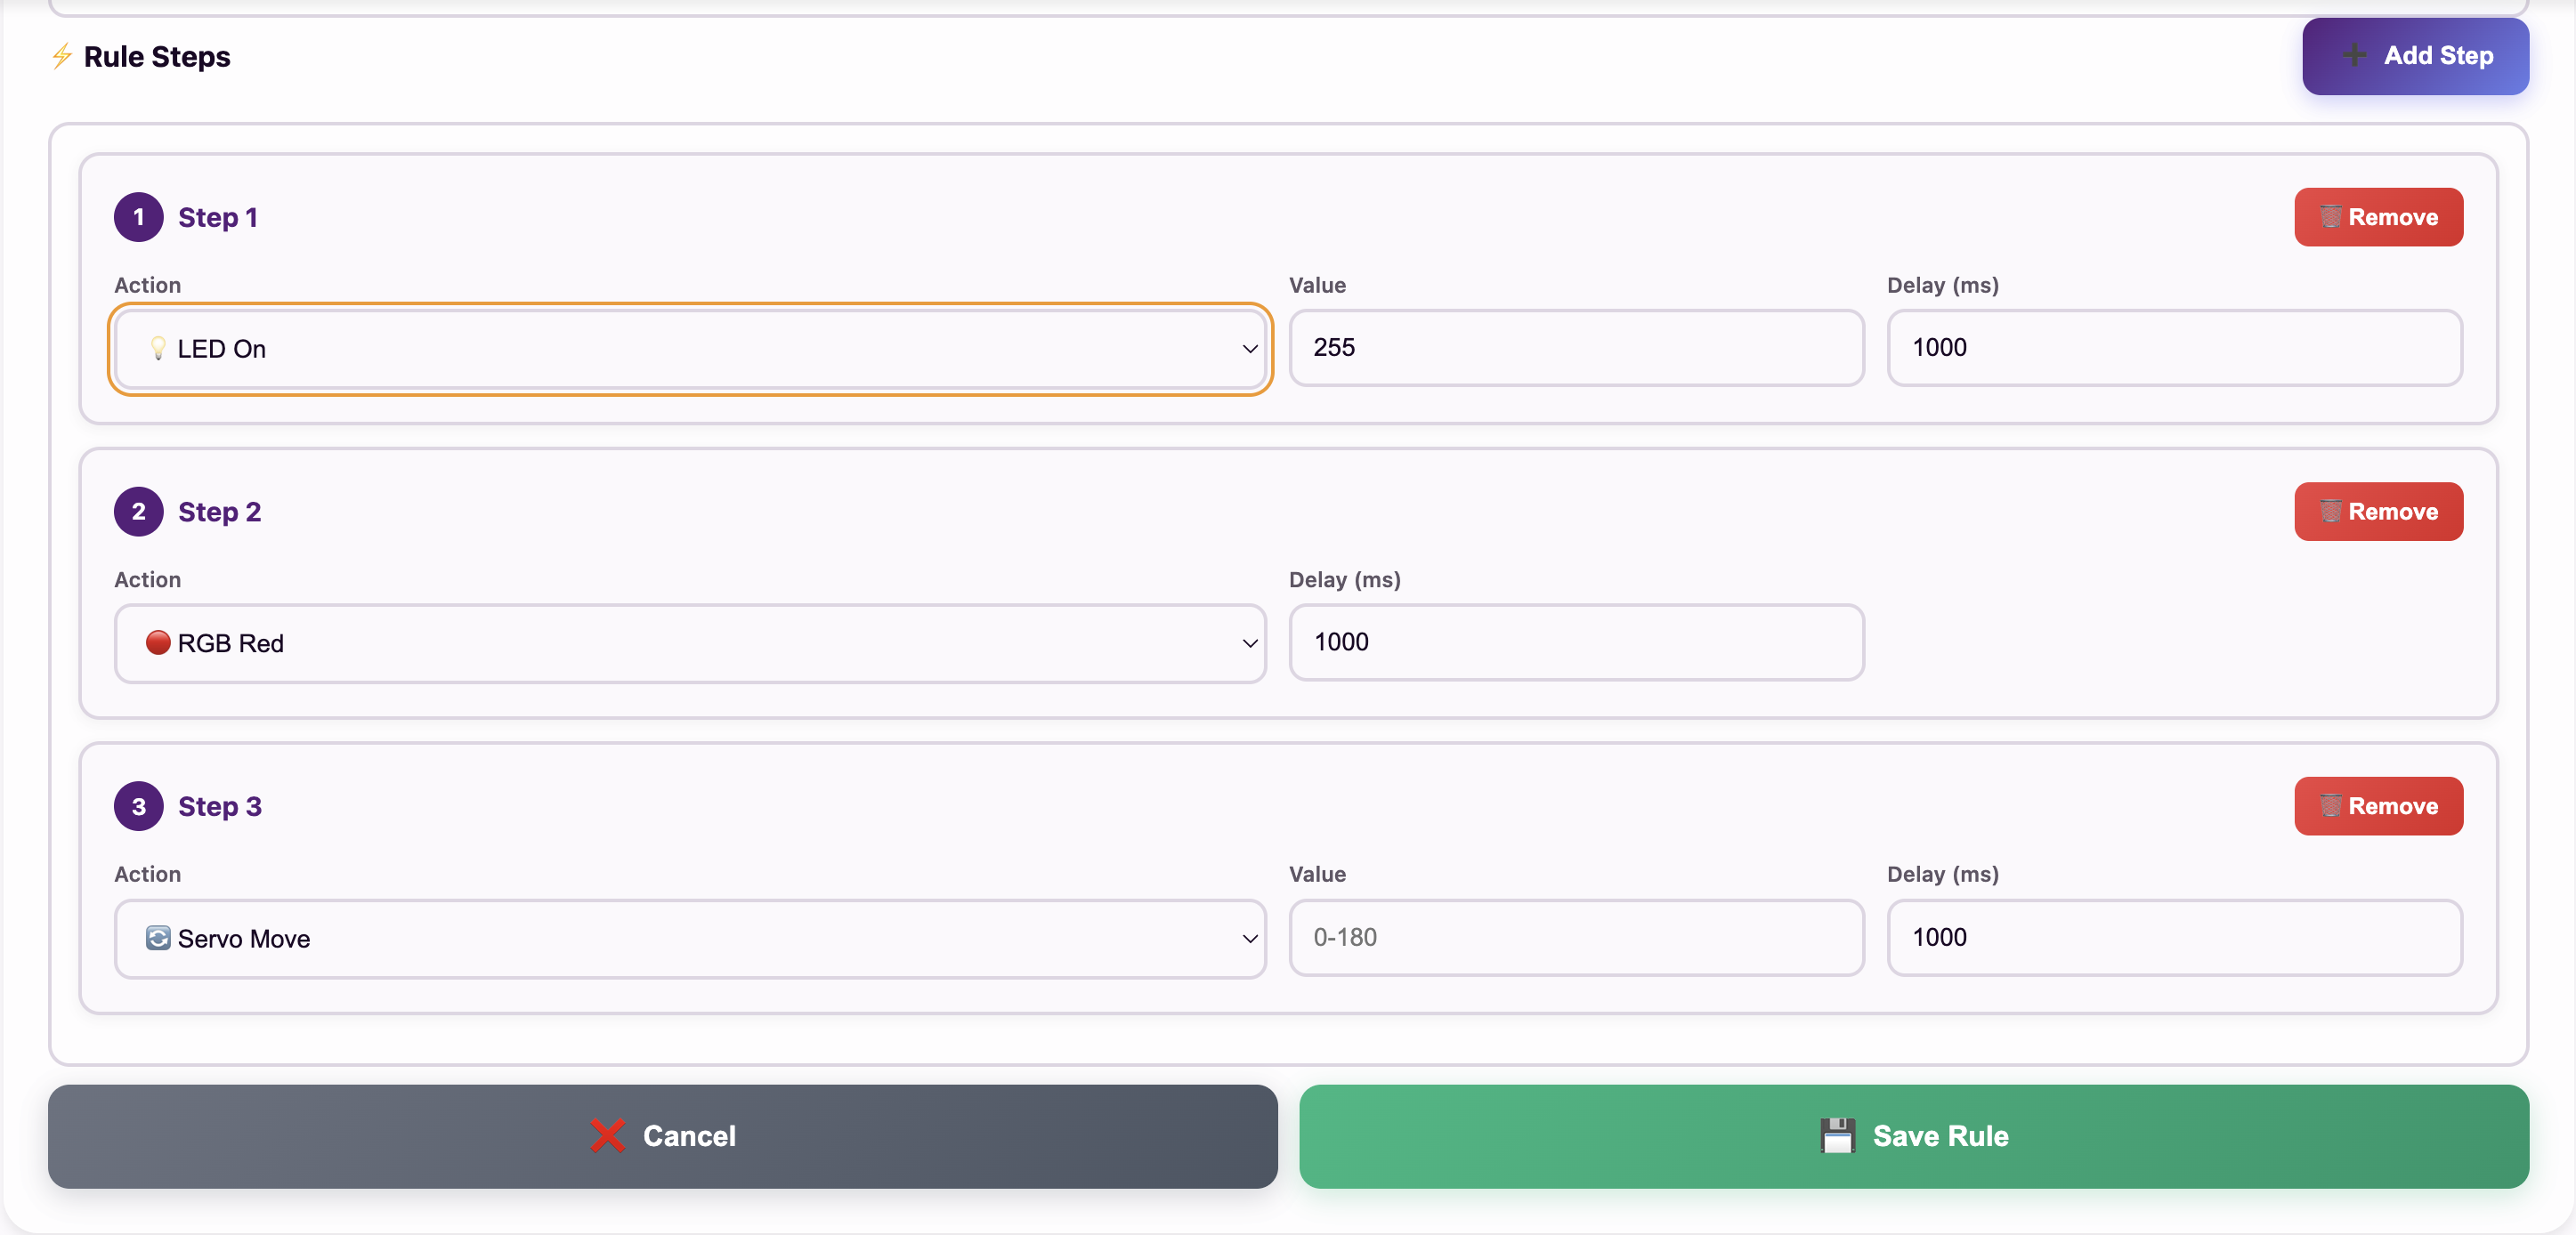
4. Set the Action Steps
Finally, add your steps — what should the MakerBuddy do when the condition is true? For example: Action → LED On, Delay → 100 ms.
For Teachers
This is where the algorithmic thinking from Week 20 pays off. Ensure students understand the difference between > and <, as getting these backwards is the most common beginner mistake. A good trick: "The arrow always points to the smaller number."
Activity: The Automatic Nightlight
Let's build a classic smart home device: a light that turns on automatically when the room gets dark. The Condition rule keeps repeating its steps while the room remains dark.
Step-by-Step Instructions:
- Check Ambient Light: Look at your Dashboard. What is the current LDR (Light) reading in the room? (e.g., 80)
- Cover the Sensor: Put your hand over the LDR to cast a shadow. What is the reading now? (e.g., 20)
- Pick a Threshold: Choose a number halfway between bright and dark (e.g., 50). This is your trigger point.
- Create the Rule: Add a new rule called "Nightlight". Set Mode to Condition.
- Configure Condition: Sensor → LDR, Operator → < (Less Than), Threshold → 50.
- Add the Step: Action → LED On, Delay → 100 ms. Save!
- Test it: Cover the sensor with your hand. The LED should turn on! Remove your hand and... wait, it doesn't turn off?! You need a second rule for that — we'll cover this next week!
Challenge: The Smart Fan
Cool Down the Room
You successfully built a nightlight. Now, can you build a smart thermostat?
- Create a Condition rule that listens to the Temperature (DHT11) sensor.
- Operator → > (Greater Than), Threshold → 30.
- Step 1: Action → Relay On (to turn on a fan), Delay → 100 ms. Save!
- Bonus: Create the reverse rule! If temperature drops below 26, Action → Relay Off. Notice the gap between 26 and 30 — this is a threshold window to prevent rapid switching!
Coming Up Next Week:
Week 27: Range Logic, Multiple Sensors & Threshold Windows