
The Rule Engine & The 4 Loop Modes
Learning Objective
Meet the MakerBuddy Rule Engine. Learn what every rule is made of, and understand the 4 Loop Modes that decide when and how often a rule runs.
Theory: The Brain of MakerBuddy
Until now, you have been the brain — pressing buttons and dragging sliders on the dashboard to tell the MakerBuddy what to do. But what if the MakerBuddy could think for itself? That is exactly what the Rule Engine does.
The Rule Engine is where you write the IF-THEN algorithms you drew as flowcharts in Week 20, and save them permanently onto the board. Once saved, the MakerBuddy follows your rules automatically — even if you close the dashboard, walk away, or unplug your laptop.
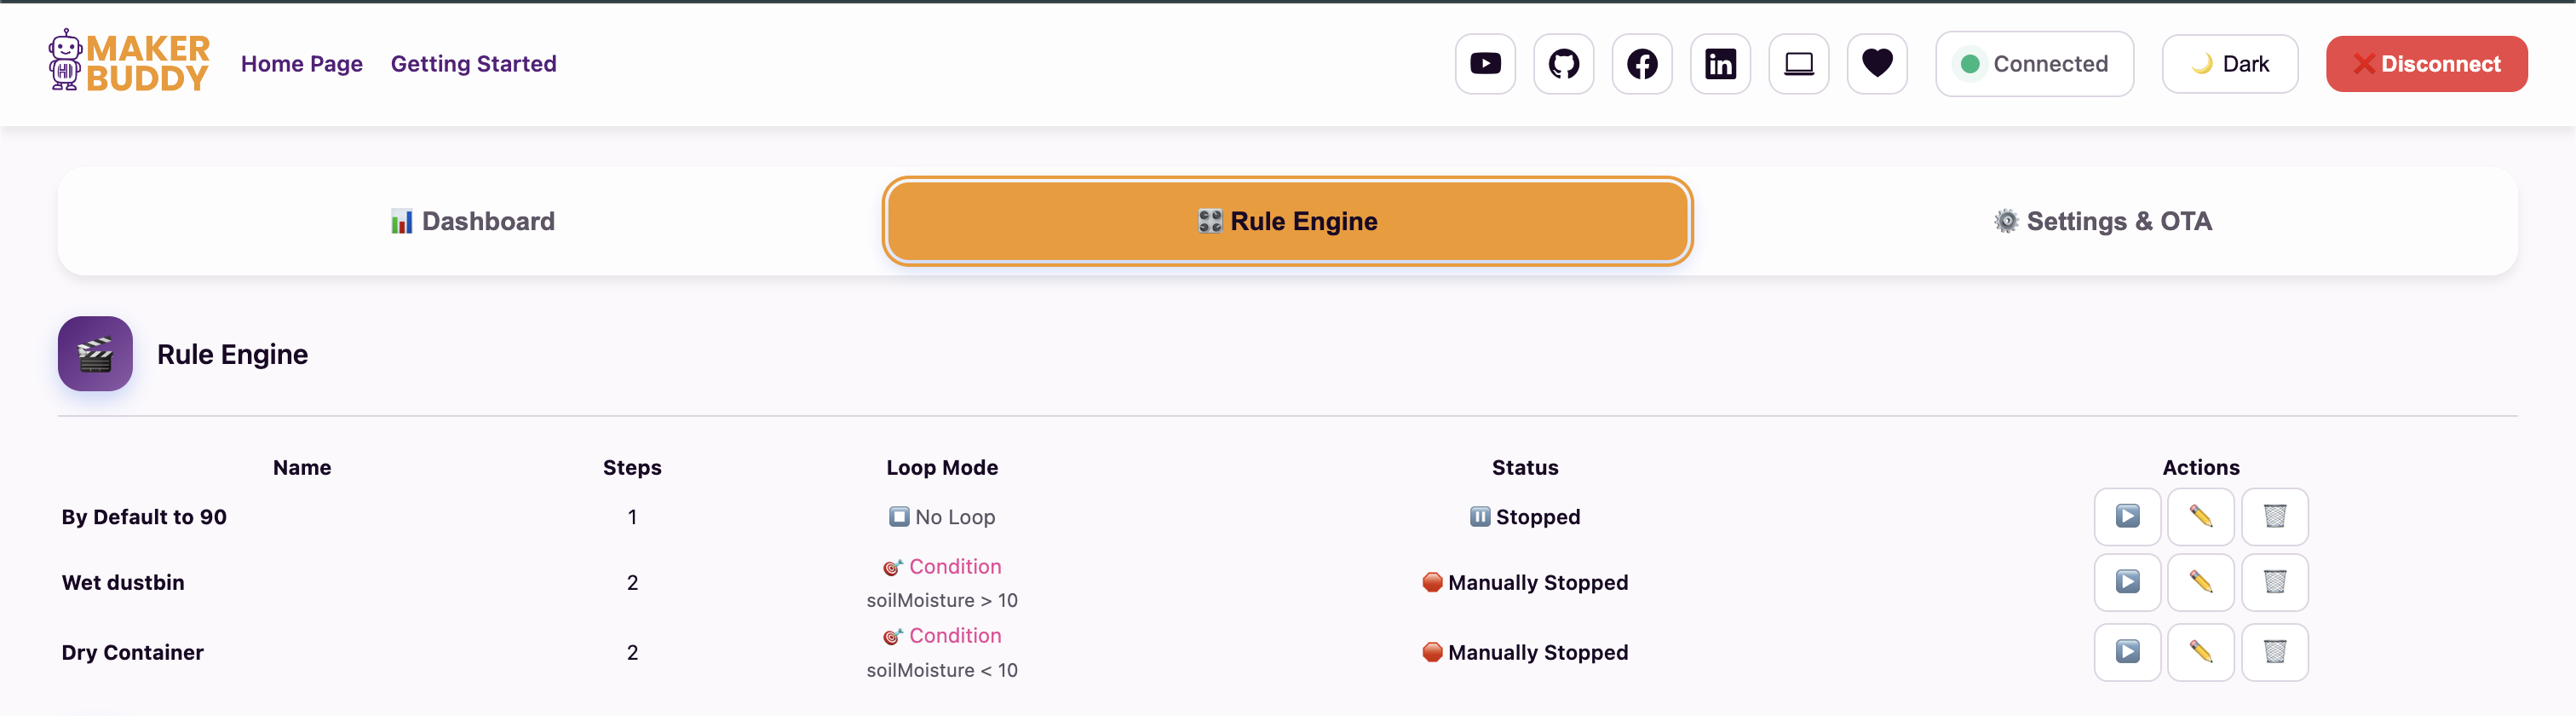
The Rule Engine page — each card is one saved rule. Several rules can run at the same time.
Every Rule Has Two Parts
No matter how simple or complicated a rule is, it always answers two separate questions:
1. Loop Mode — when?
Tells the MakerBuddy when and how often to run the rule. Once? Non-stop? Every 5 minutes? Only when a sensor says so?
That is this week's lesson.
2. Steps — what?
Tells the MakerBuddy what to actually do when the rule runs. A rule can hold up to 10 steps that run one after the other.
That is next week's lesson.
The 4 Loop Modes
Every rule must answer one question first: "How often should this rule run?"The answer is the Loop Mode. There are four choices, and you pick one with the radio buttons at the top of the rule form.
No Loop (Run once)
What it does: Runs the complete sequence one time when you save or start it, then stops.
Analogy: Like firing a water balloon from a slingshot. It fires once. To fire again, you reload it yourself.
✅ Use when: You want a one-time command — moving a servo to its starting position, or setting a light during setup.
- Set the RGB colour on startup
- Move a servo to its home position
- Send one "I'm awake!" beep on power-on
Forever (Continuous)
What it does: Runs the sequence, and the moment the last step finishes it jumps straight back to step 1 — with no pause in between.
Analogy: Like a heartbeat — it never stops and never waits for instructions. Beat, beat, beat, forever.
✅ Use when: You need to lock an output into a state, or repeat a pattern endlessly — a siren that must never stop, a colour animation.
A Forever rule takes over its output while it runs. Manual dashboard controls get overridden — stop, disable, or delete the rule to take back manual control.
Timer (Interval)
What it does: Runs the complete sequence, then waits for your chosen interval before running it again. You set the interval in hours, minutes and seconds.
Analogy: Like a garden sprinkler. It does not spray constantly — it sprays each morning, then turns off and waits until tomorrow.
✅ Use when: Something must happen on a schedule rather than on demand.
- Flash a hazard light every 30 seconds
- Water a plant every hour
- Show sensor data on the LCD every 5 minutes
Condition (Sensor-based)
What it does: Watches one sensor condition — or combines two sensor conditions with AND/OR — and repeats the sequence while the result is true. When it becomes false, the rule finishes the current cycle and then stops.
Analogy: Like a smoke alarm. It listens silently. The moment it detects smoke — BEEP BEEP BEEP! It reacts to the real world.
✅ Use when: The MakerBuddy should react to a measurement. "If temperature is above 30°C, turn the fan on."
- Turn a nightlight on when the room gets dark
- Sound an alarm if gas levels are too high
- Open a gate when a car is detected nearby
Quick Reference: Which Loop Should I Pick?
| Ask yourself… | Answer | Mode to use |
|---|---|---|
| Should this happen only once? | Yes, one time only. | ⏹️ No Loop |
| Should this repeat with no break at all? | Yes, never stop! | ♾️ Forever |
| Should this repeat on a schedule, with a gap in between? | Yes, every few seconds, minutes or hours. | ⏱️ Timer |
| Should this react to what a sensor is reading? | Yes, react to the real world. | 🎯 Condition |
Who Wins? Rule Priority
You can have up to 10 rules saved at once — so what happens if two of them try to control the same component at the same time? The Rule Engine settles the argument using a fixed priority order:
A higher-priority rule takes ownership of the component it is using right now, and lower-priority rules cannot touch that component until it is released. Two rules of the same priority, however, are not sorted out for you — they will fight over the output, and the result is unpredictable. That is a design mistake to avoid, and we will see it happen for real in Week 23.
For Teachers
The four Loop Modes map neatly onto structures students will meet in any programming language: a single call, a while(true) loop, a scheduled task, and an event-driven trigger. Naming that parallel early gives students a vocabulary they will reuse for years. Priority ordering is the same idea as interrupt priority in real embedded systems.
Activity: Tour the Rule Engine
This week is about reading and understanding the interface — you will build your first working rule next week.
Step-by-Step Instructions:
- Open the dashboard and go to the Rule Engine tab.
- Find the Loop Mode selector — the row of four boxes: No Loop, Forever, Timer, Condition.
- Click each mode in turn and watch the form change underneath. Notice that:
- No Loop and Forever show no extra settings.
- Timer reveals three boxes: Hours, Minutes and Seconds.
- Condition reveals a sensor list, an operator list and a threshold box.
- Open the Condition sensor list and write down all 10 sensors you can choose from.
- Do not save anything yet — just explore and describe what you see to a partner.
Observation task: The form changes shape depending on the mode you pick. Why do you think Timer needs extra settings but Forever does not?
Challenge: Guess the Loop Mode
Which Mode Would You Use?
For each scenario below, decide which Loop Mode fits best — and be ready to explain why the other three are wrong. Discuss your answers with the class!
- A factory siren that must blast non-stop for as long as the emergency is active.
- A reminder that beeps once every 20 minutes to tell a student to drink water.
- A streetlight that turns on when it gets dark and turns off when it gets bright again.
- A "System Online" green LED that lights up once when the MakerBuddy first boots up.
- A greenhouse fan that must switch on whenever the soil gets too dry.
Key Takeaways
✓ A rule = Loop Mode + Steps
The Loop Mode answers when; the Steps answer what.
✓ Four ways to trigger
Once (No Loop), non-stop (Forever), on a schedule (Timer), or on a sensor reading (Condition).
✓ Rules live on the board
Up to 10 rules are saved to the MakerBuddy itself and keep running with the dashboard closed.
✓ Priority settles conflicts
Condition beats Timer beats Forever beats No Loop — but same-priority rules still clash.
Coming Up Next Week:
Week 22: "No Loop" Mode & Multi-Step Sequences — we build our first real rule, and learn how one rule can control several outputs in order.