
Control it from a browser
Open the free dashboard. See every sensor reading and switch every output before you write any code.
For engineers and product teams
Plug in sensors and outputs. Control them from a free dashboard, or call them from your own code over your Wi-Fi. No cloud and no account.
$ curl http://makerbuddy-01.local/api/sensors
{ "te": 25.5, "hu": 65, "li": 75,
  "di": 123.5, "md": false, ... }
A shortened sample reply: temperature, humidity, light, distance, motion and the rest.
One kit is PKR 40,000 in Pakistan. Elsewhere, it is USD 200, plus delivery in a written quote.Plan your kits
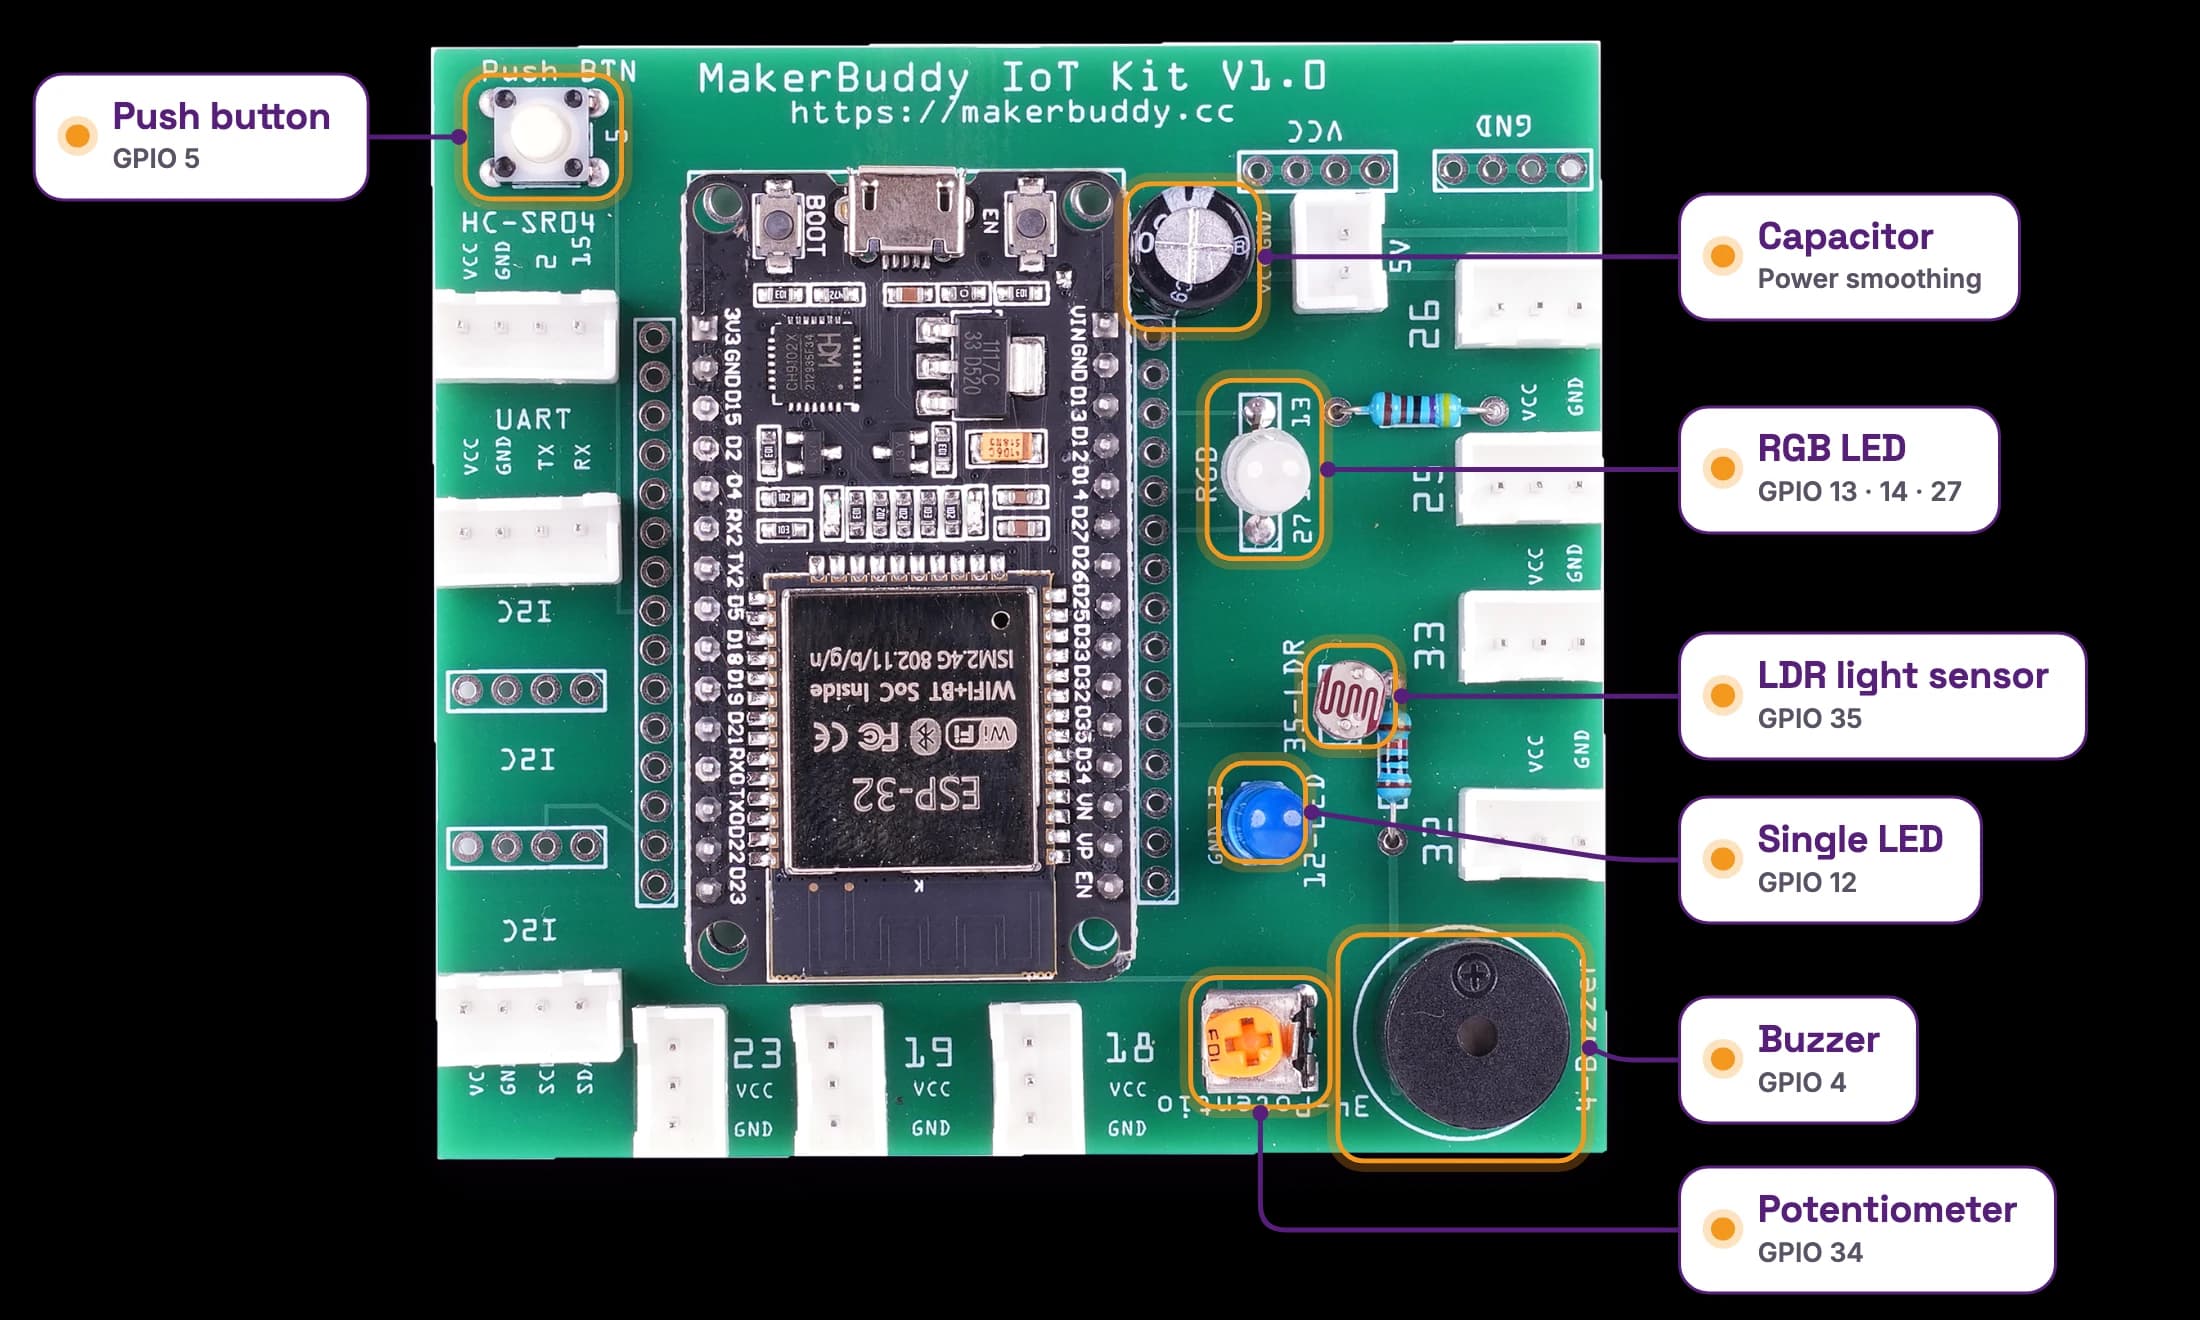
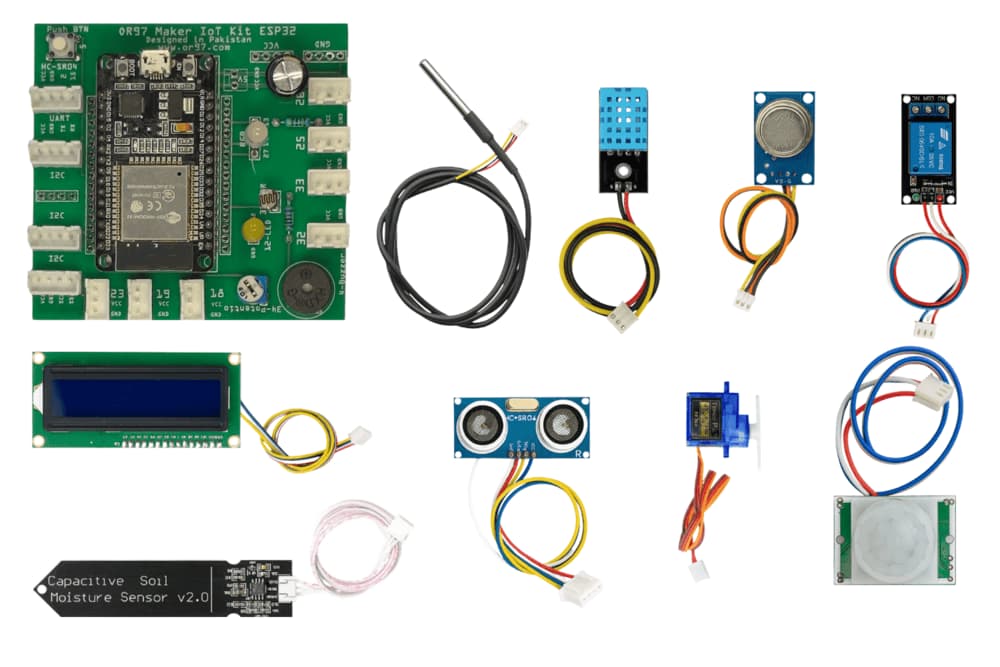
The board already has six parts built in: a blue light, a colour light, a button, a light sensor, a buzzer and a knob. Nine more parts plug into labelled sockets: sensors, a small servo motor, a switch for low-voltage things and a text screen. Put the board on your Wi-Fi, and it is ready.
Open the free dashboard. See every sensor reading and switch every output before you write any code.
Send plain HTTP requests, or open a WebSocket, on your own network. No cloud server sits in between.
The firmware, web app and V1.0 board design are open on GitHub (opens in a new tab). If something does not fit your idea, change the code.
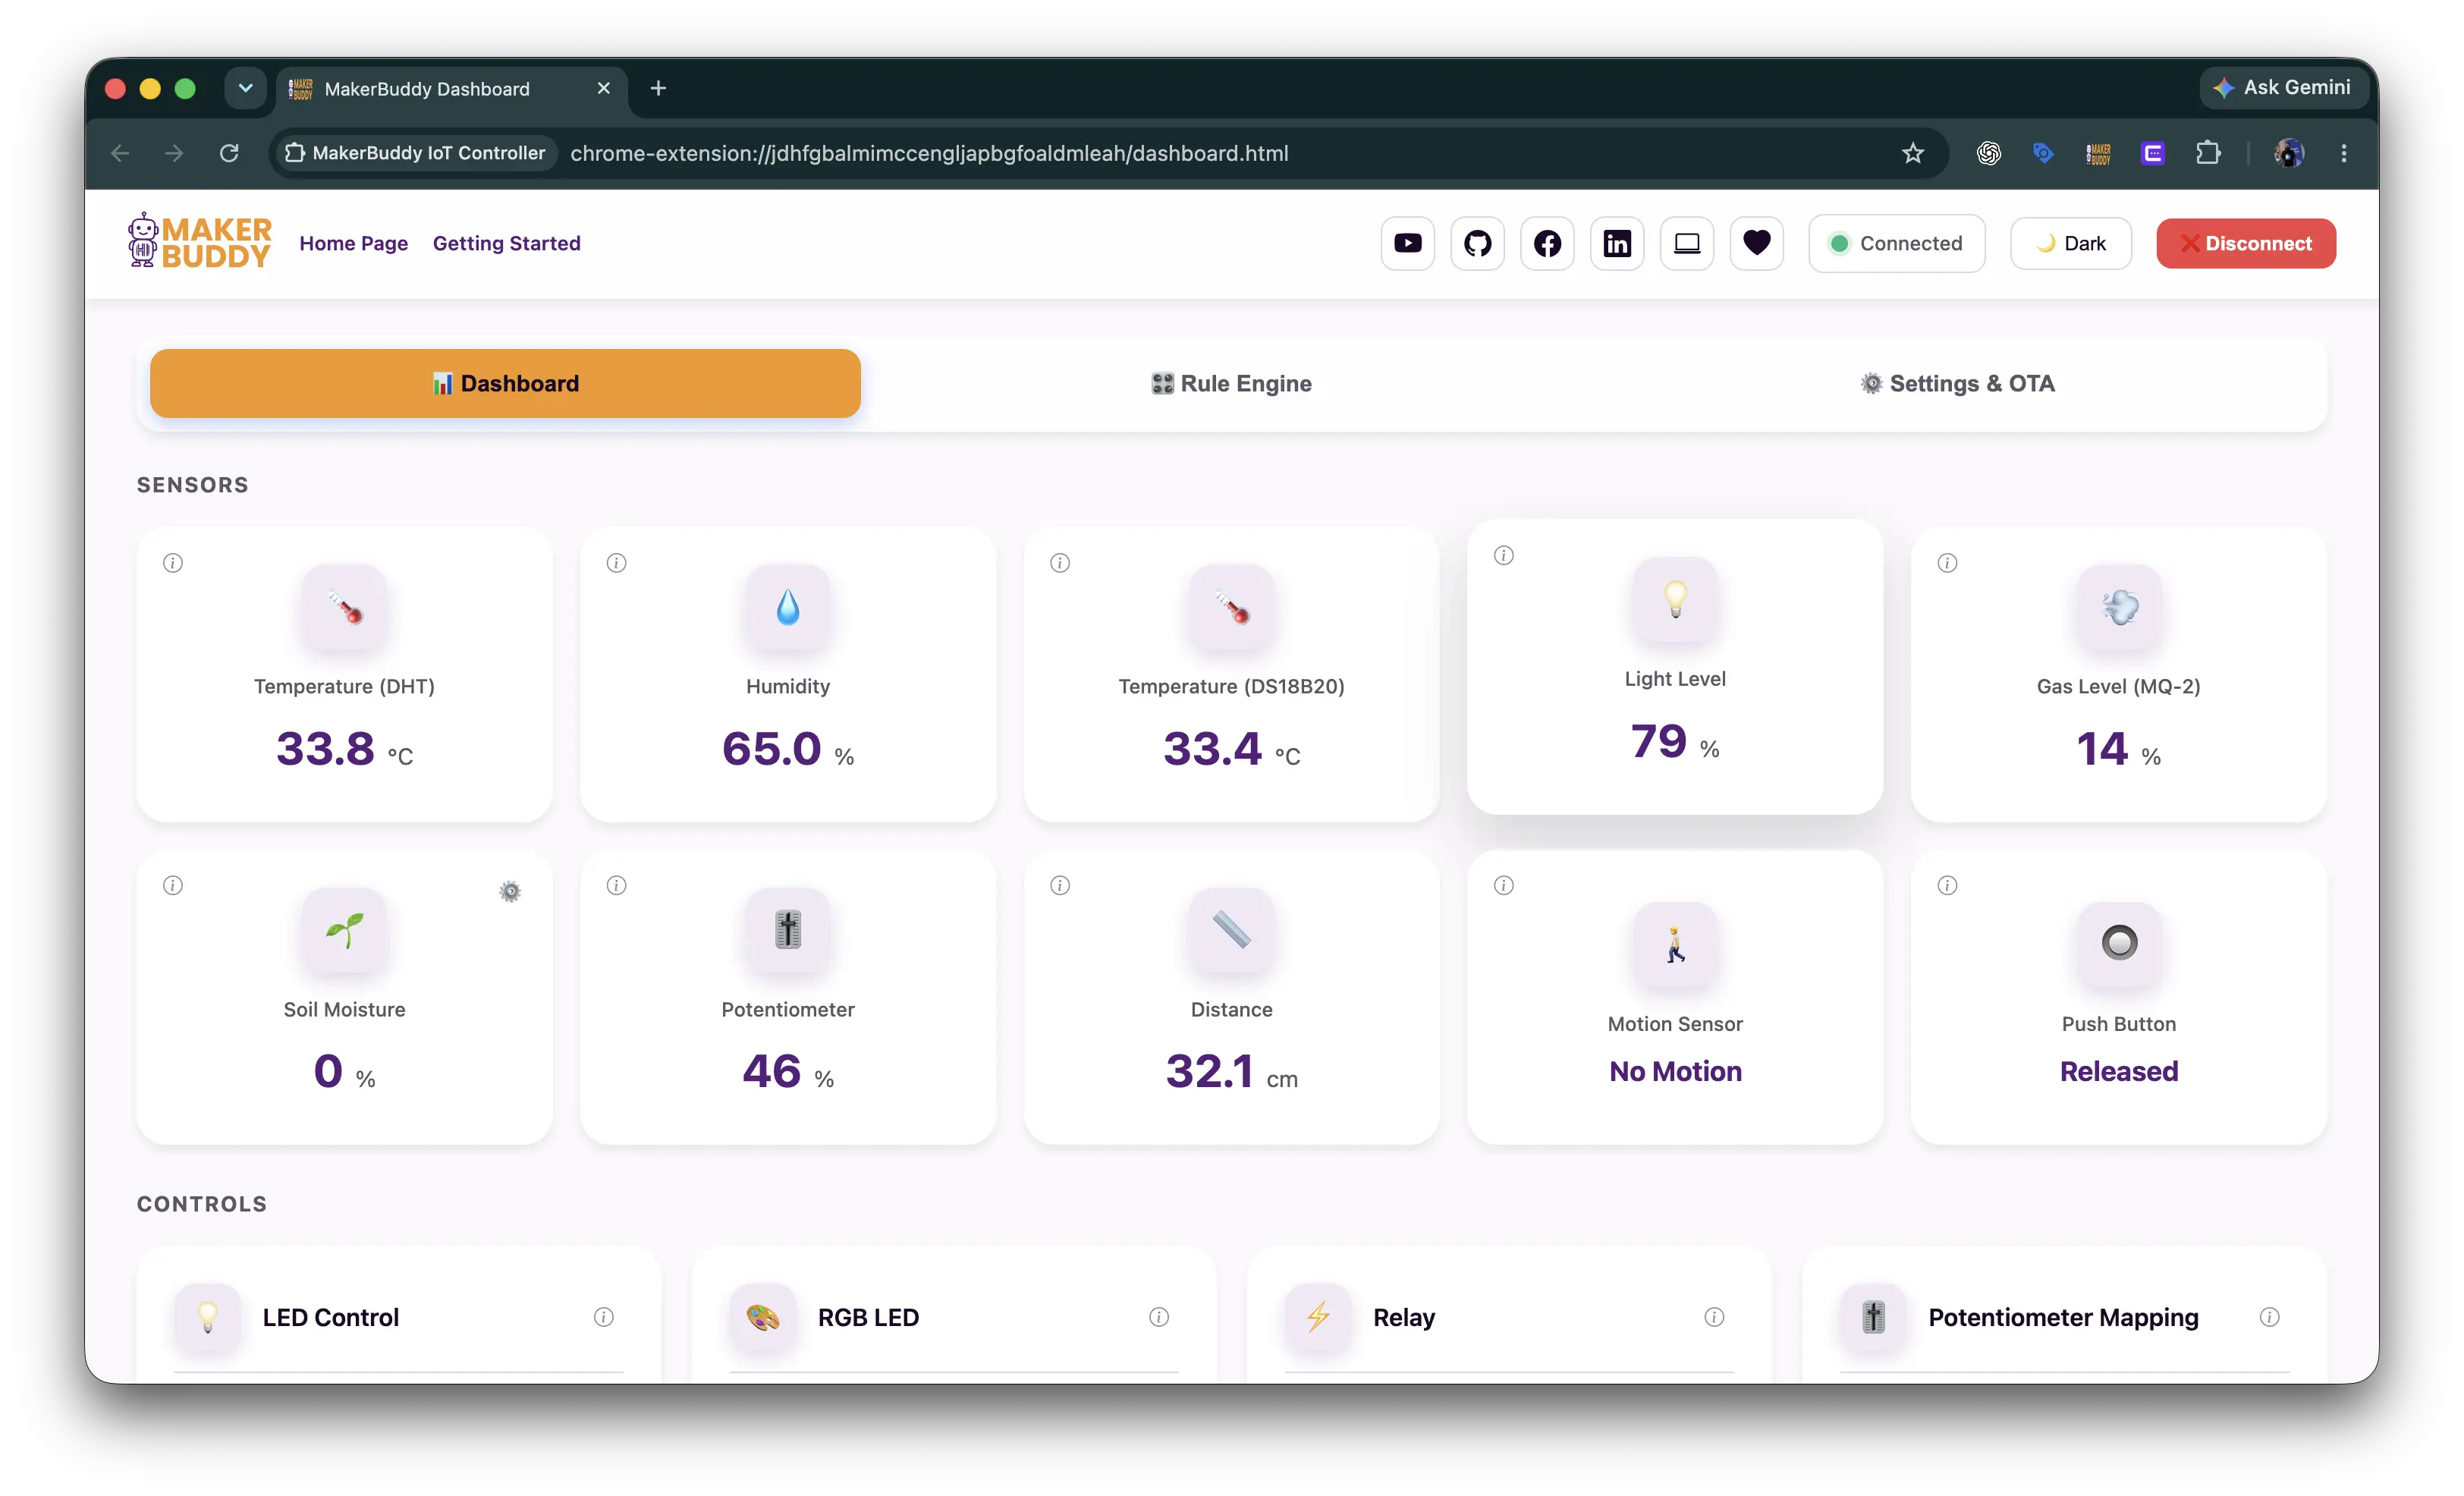
No board yet? Install the free dashboard for your browser and type demo as the device name. You will see moving sample readings. Which dashboard fits your browser?
Your code talks to the board over your own Wi-Fi. It needs no cloud account and no API key.
http://<device>/api/... with 14 endpoints.ws://<device>/ws. The dashboards use it too.<device> is the board's IP address, or its name plus .local (for example makerbuddy-01.local). The IP address shows on the board's screen.state as the text true or false.X message or POST /api/sequences.409 while a rule, a sensor link or the knob controls it.Build your first call here, in curl, Python or JavaScript:
Full reference: REST API, WebSocket messages and the rule format.
Current versions
Firmware 2.10 installs over USB with the Arduino IDE; updating over Wi-Fi erases the board's saved settings.
One board with 6 parts built in, plus 9 parts that plug in. Here is each part with its ESP32 pin, what it reports or does, and its keys in the API reply.
Ready the moment the board has power.
Blue light
LEDGPIO 12
On or off, brightness 0–255, blink
API keys:lslplb
Colour-changing light
RGB LEDGPIO 13 · 14 · 27
Red, green and blue, each 0–255
API keys:r
Push button
Push buttonGPIO 5
Pressed or not. Hold 10 s to clear the saved Wi-Fi
API keys:bp
Light sensor
LDRGPIO 35
Light level, 0–100
API keys:li
Buzzer
BuzzerGPIO 4
Beeps. One tone only, it cannot play notes
Command only: POST /api/buzzer
Turning knob
PotentiometerGPIO 34
Knob position, 0–100
API keys:po
Each has its own labelled socket. Most plugs fit one way; the distance sensor's four wires are matched by name.
Temperature and humidity
DHT11GPIO 25
Air temperature in °C and humidity in %
API keys:tehu
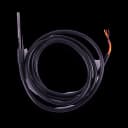
Waterproof temperature probe
DS18B20GPIO 26
Temperature in °C, for water or soil
API keys:d8
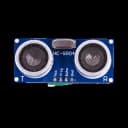
Distance sensor
HC-SR04GPIO 2 · 15
Distance in cm, about 2 cm to 4 m
API keys:di
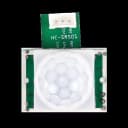
Motion sensor
PIRGPIO 18
Movement nearby: yes or no
API keys:md
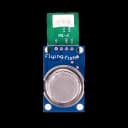
Smoke and gas sensor
MQ-2GPIO 33
Gas level, 0–100. For learning, not a real alarm
API keys:ga
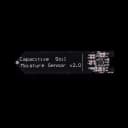
Soil moisture blade
Capacitive sensorGPIO 32
Moisture 0–100 and raw 0–4095. Coated blade, no prongs
API keys:smsr
Same labelled sockets. The text screen's four wires are matched by name.
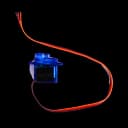
Servo motor
SG90 servoGPIO 19
Turns to an angle, 0–180°. It does not spin round
API keys:sp
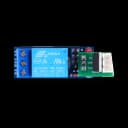
Relay switch
RelayGPIO 23
Switches a separate circuit on or off
API keys:rs
Low-voltage things only, like a small fan or bulb. Never connect mains electricity.
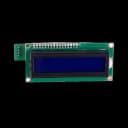
Text screen
1602 LCDGPIO 21 · 22 (I²C)
2 lines of 16 characters, can show live readings
API keys:lm
You also need:
Six ways to use one board.
Let a client or manager try a working version. Learn from their reaction before the plan is fixed.
Test dashboards, light and buzzer alerts, buttons and screen messages with real sensors.
Teach REST, WebSockets and how small devices react to events. Learners can see the board and change it.
Give a mixed team (design, business, engineering) one real device to test and argue about.
Prove the main behaviour on a board that already works. Then design your own circuit board or case.
Try monitoring and automation ideas. Keep the board on a separate, trusted network.
Pick your question
Decide what this demo must prove.
Plug in only what you need
Connect just the sensors and outputs for that question.
Make it work with no code
Use the dashboard and if-then rules. Rules run on the board itself, even with no dashboard open. A board holds up to 10 rules of up to 10 steps each.
Connect your code
Use HTTP, the WebSocket or your own firmware when the test needs it.
Try to break it
Test slow updates, weak Wi-Fi, a lost connection and a power cut. Rules are saved and run again at power-on.
Write down the result
Note what the demo proved, and what it did not.
Plan your demo around these limits.
| Topic | What it does | What it does not do |
|---|---|---|
| Wi-Fi | Joins 2.4 GHz Wi-Fi with just a name and password. A phone hotspot works. | No 5 GHz. No Wi-Fi with a sign-in page (captive portal) or a username (enterprise). No Bluetooth. |
| Speed | Reads sensors once a second. Sends updates about every 2 seconds. | Not a real-time control system. |
| Security | Works on your own local network. | No login and no encryption. CORS allows any website. The setup network has a fixed password. Updates over Wi-Fi are not signed. Never put it on the internet. |
| Cloud | Your own code on the same network can use the API. | No cloud, MQTT or Home Assistant link built in. Use a bridge program or your own firmware. |
| Rules | Up to 10 rules, each with up to 10 steps, saved on the board. | No more than that. Run extra logic in your own code. |
| Time and data | Live readings only. | No clock, no dates, and no stored history or graphs. |
| Power | 5 V through the ESP32's micro-USB port. | Battery use is not confirmed yet. Ask us. |
| Relay | Switches low-voltage things, like a small fan or bulb. | Never mains electricity. |
| Updates | Firmware installs over USB with the Arduino IDE. | Any update over Wi-Fi erases all saved settings (Wi-Fi, name, rules, calibration), even if it fails. |
If the board cannot join its saved Wi-Fi at start-up, it runs on without Wi-Fi. It does not go back to setup by itself. To set it up again, hold its button for 10 seconds. That clears only the saved Wi-Fi and screen mode. Rules and calibration stay.
MakerBuddy is for learning, trying ideas and quick demos. It is not production hardware.
Check what these licences mean for your product before you build on them.
More detail: hardware reference, API reference and source on GitHub (opens in a new tab).
Enter how many people will build at the same time.
Pakistan
PKR 40,000 per kit
Order on this site, then pay by bank transfer to the UBL account of OR97, the company that makes MakerBuddy. The form takes up to 200 kits.
Volume discounts
Outside Pakistan
USD 200 per kit
Tell us where the kits are going and how many you need.
We reply with a written quote that includes delivery to your address.
Delivery depends on your address, so every order starts with a quote.
Anywhere
The board design, the firmware and the web app are open source on GitHub.
You find the parts and build the board yourself. No ready-made Gerber files or parts list are published.
Ready to try it
Start with one kit and the free dashboard. Ask us anything about the API or the board.
Your first API call
Pick a call and a language, then copy the code.
Its name plus .local, or the IP address on its screen.
What should your code do?
Read all sensors
No settings. One call returns every reading.
Language
Showing Read all sensors: GET /api/sensors in curl.
HTTP · GET /api/sensors
curl http://makerbuddy-01.local/api/sensorsA plain GET request. Add -i to see the status code too.
The board answers
{
  "te": 25.5, "hu": 65, "d8": 24.8, "li": 75, "po": 50,
  "ga": 15, "sm": 45, "sr": 2034, "di": 123.5,
  "md": false, "bp": false,
  "ls": true, "lp": 200, "lb": false, "r": [255, 0, 128],
  "rs": false, "sp": 90, "lm": 0, ...
}
Returns the latest readings. The board reads its sensors once a second. A failed temperature read shows as 0.0, and distance shows 999 until the first good reading.
WebSocket · the board sends
{"m":"s","te":25.5,"hu":65,"li":75,"di":123.5,...}Connect to ws://makerbuddy-01.local/ws. No command needed: the board sends this s message about every 2 seconds.
Will MakerBuddy fit your idea?
Ticked now: a meeting-room monitor, as an example. Change the ticks to match your idea.
Yes, with some work: 1 of your 5 needs takes your own code or setup.


Run on its own, with no laptop open
Up to 10 if-then rules run on the board. They are saved there and run again at power-on.
Send data to a cloud service or MQTT
Not built in. Run a small bridge program on the same network that reads the API, or write your own firmware.
Nothing ticked here.
Nothing ticked here.
How many kits does your team need?
One kit for every 2 or 3 people keeps everyone hands-on.
People sharing one kit
You need 4 kits for PKR 160,000.
6 people ÷ 2 per kit = 3 kits, plus 1 spare.
Volume discounts start at 10 kits (2% off).
You pay by bank transfer after you order.
Outside Pakistan? Kits are USD 200 each. Pick your region above and we send a written quote with delivery.