
Demonstrate instantly
Put live data on a shared screen, change the environment and ask the class to predict the response.
MakerBuddy for teachers
Lead practical IoT lessons with dependable hardware, visible cause and effect, assessable project work and a path from no-code logic to Arduino.
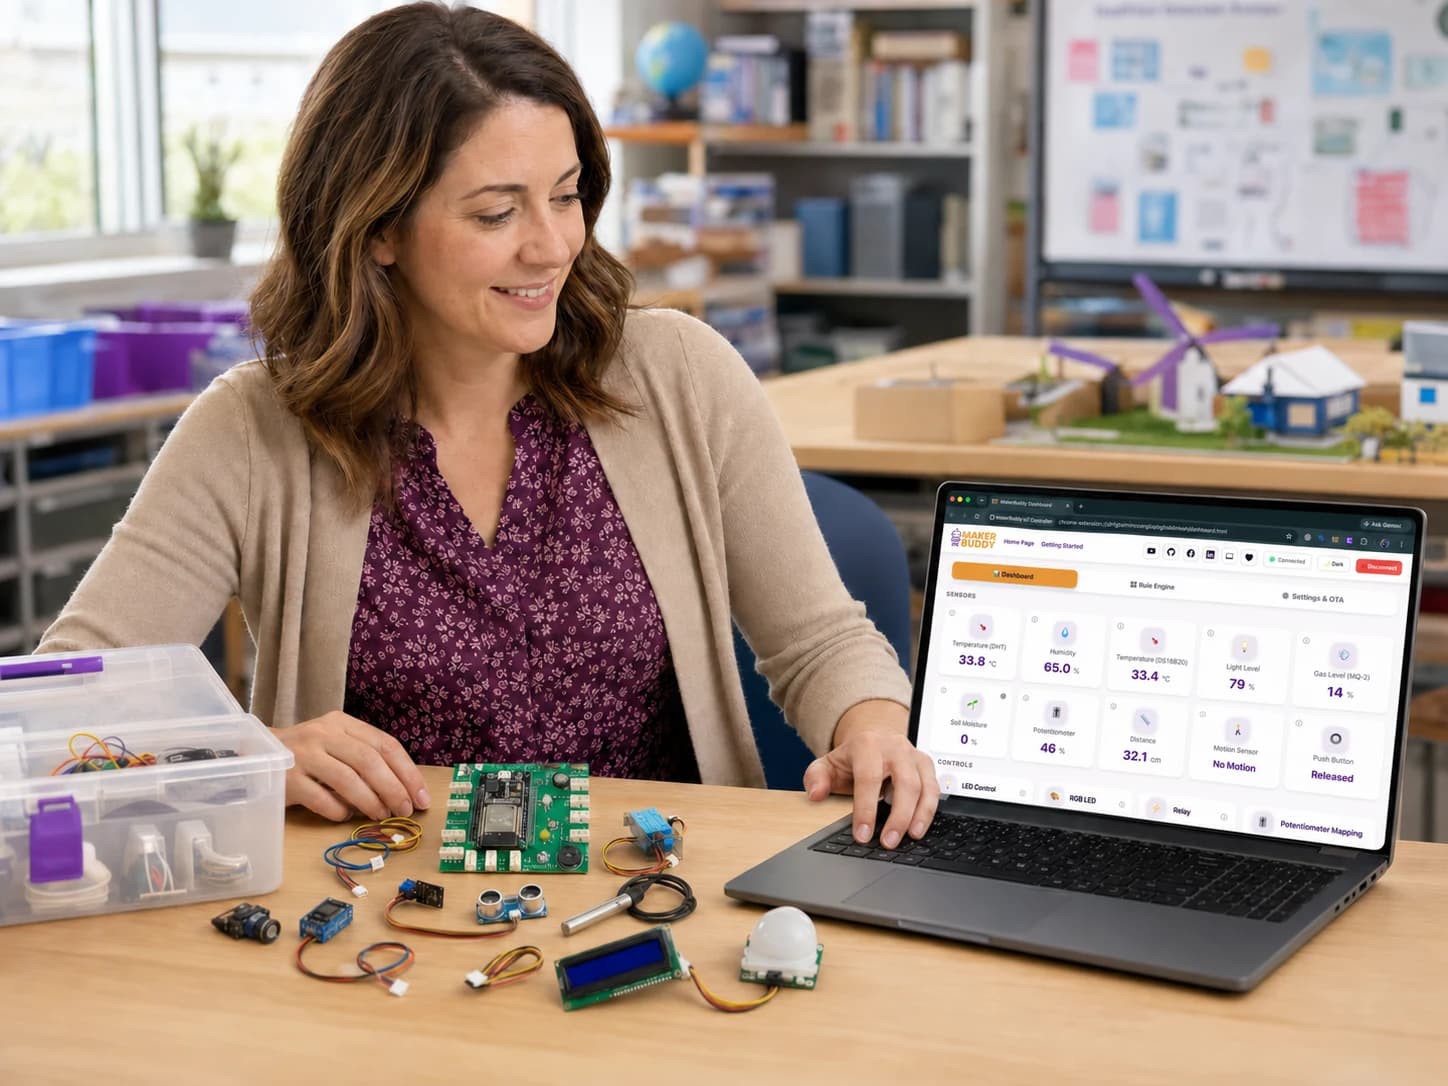
Start with a question, not a tangle of jumper wires. MakerBuddy lets students see an input change, control an output and explain cause and effect before the lesson moves into abstraction.
Put live data on a shared screen, change the environment and ask the class to predict the response.
Beginners use the dashboard and rule engine. Confident learners inspect messages, modify firmware or build their own interface.
Ask learners to justify a threshold, explain a failed test and show how evidence changed their design—not simply copy a finished circuit.
Provide a known sensor-to-output example, a target threshold and a checklist. Students can succeed without beginning from a blank page.
Give teams a real-world brief and success criteria. They choose the rule, test the behavior and record evidence.
Require multiple conditions, edge-case testing, API use, source-code changes or a custom interface.
Follow the curriculum from physical computing fundamentals through sensing, automation and capstone projects. Or use a single project idea for a science investigation, computing lesson, club session or design challenge.
Review the lesson goal, verify kit contents and test one complete example before class.
Use the dashboard for a visible shared explanation, then move quickly into paired or small-team exploration.
Use the documentation and technical details when learners are ready to go beyond the prepared path.
MakerBuddy is designed to reduce avoidable setup friction, but practical lessons still benefit from a tested network, charged student devices, clear component routines and a backup demonstration. Start with one reliable build, then let learners change one variable at a time.
Ready for your next lesson
Use the prepared learning path or adapt a project challenge for your subject, students and available time.