
Learning Objective
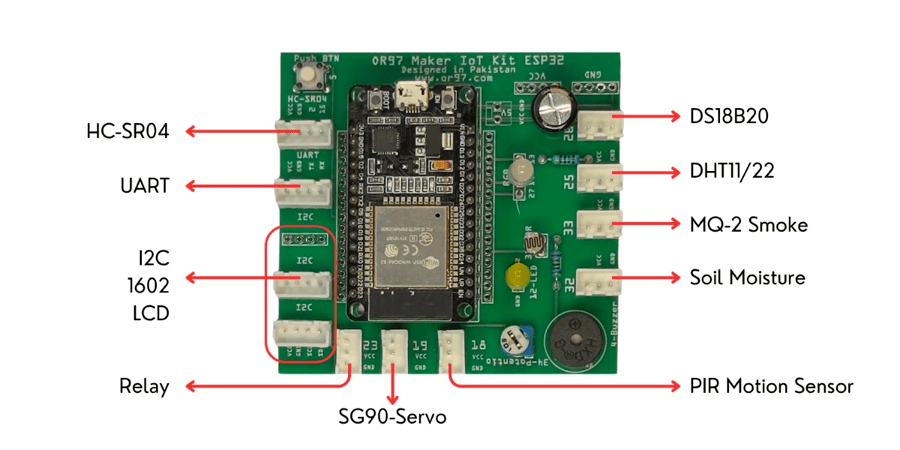
Identify the components of the MakerBuddy IoT Board and know which ones are already built in and which ones use a labelled connector.
Hardware Components & Board Tour
The MakerBuddy IoT Board
The MakerBuddy IoT Board is designed to let you focus on ideas and projects rather than pin numbers. It has components already embedded, plus clearly labelled connectors for the components you add.
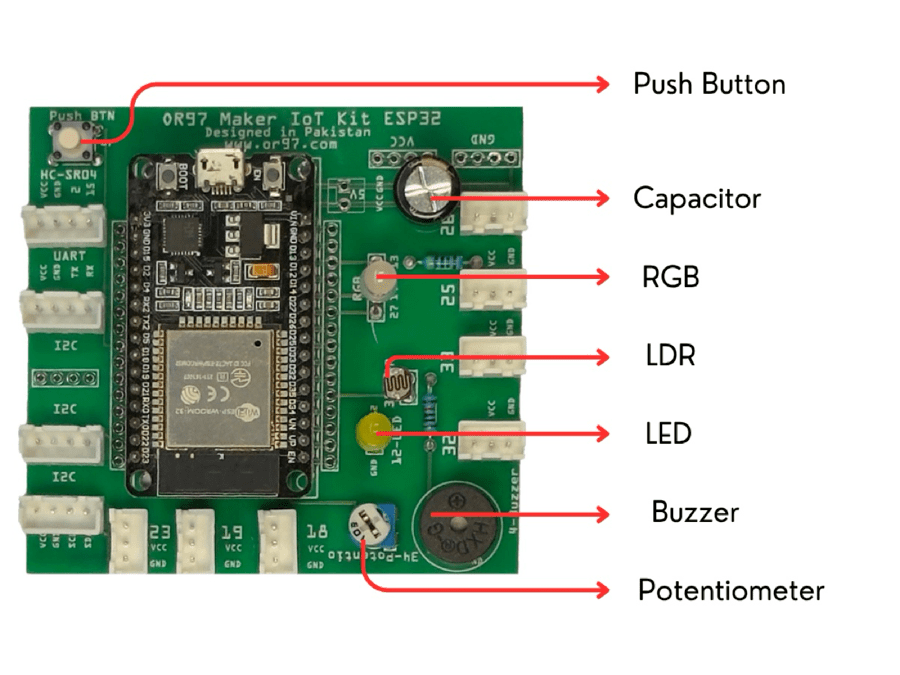
Already Embedded: No Wiring Needed
These components are already embedded and connected on your MakerBuddy IoT Board:
Push Button
A pressed/released input for interaction and later automation.
Potentiometer
A rotating knob that provides a changing value.
LDR
Measures the room’s light level.
Single LED
A controllable light with adjustable brightness.
RGB LED
Creates colours by mixing red, green and blue light.
Buzzer
Makes alerts and sound patterns.
Connector-Based Components
When a lesson uses one of the following components, connect it to its matching labelled connector on the MakerBuddy IoT Board. Match the component name and connector label; do not use pin numbers.
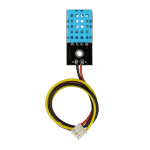
DHT11
Temperature and humidity
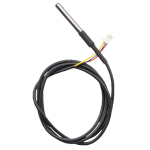
DS18B20
Waterproof temperature probe
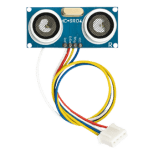
HC-SR04
Distance sensor
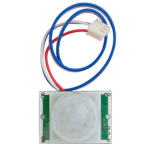
HC-SR501
PIR motion sensor
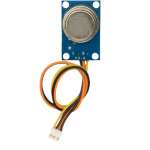
MQ-2
Relative gas/smoke level
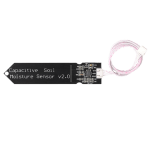
Soil Moisture
Plant-water level
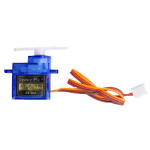
SG90 Servo
Precise movement
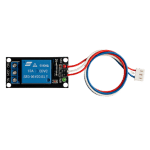
Relay
Switches the supplied low-voltage load
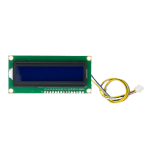
16×2 LCD
Text and live values
Challenge: Component Detective
- Point out the six embedded components on the MakerBuddy IoT Board.
- Find the labelled connector for the DHT11, servo and LCD.
- Explain why a student does not need to wire the onboard RGB LED.
Key Takeaways
Use the MakerBuddy IoT Board labels to make safe, repeatable connections. Embedded components need no wiring; external components connect only to their matching labelled board connector.