
See the invisible
Watch temperature, light, motion, distance and moisture turn into live data. Change the environment and see the response instantly.
MakerBuddy for students
Make smart gadgets, moving inventions and useful automations with a plug-and-play ESP32 kit that grows from no-code experiments into real programming.
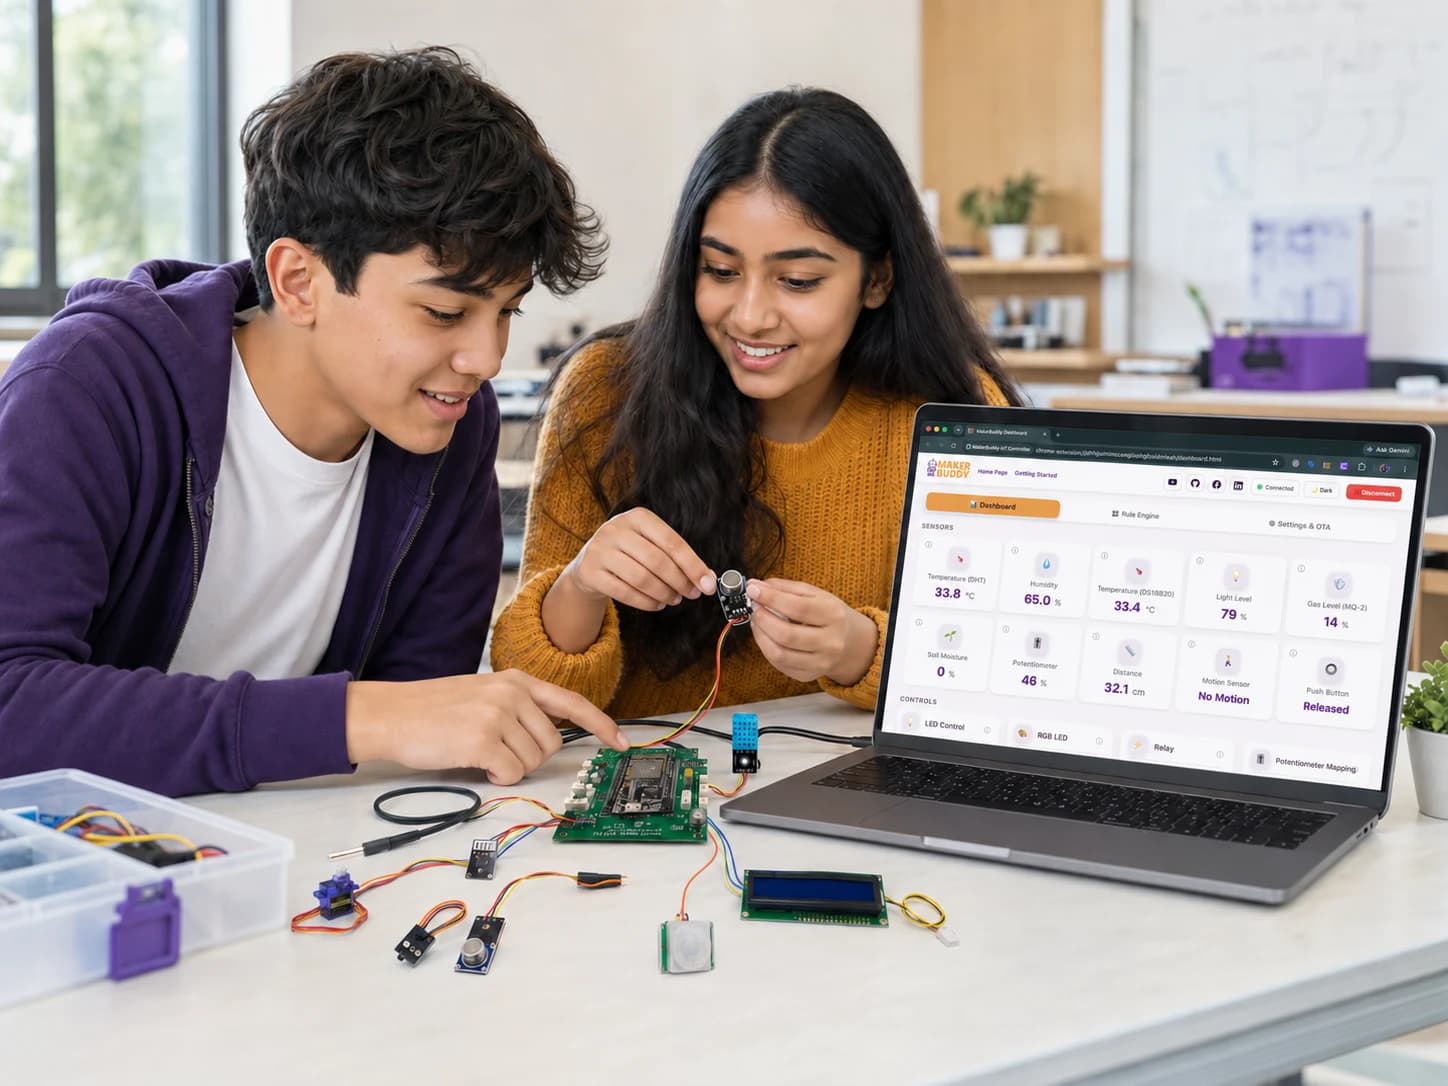
MakerBuddy helps you go from “I wonder if…” to a working invention. Plug in a component, open the dashboard and make something light up, move or react. Your first success can happen in minutes—and the project can become as ambitious as you want.
Watch temperature, light, motion, distance and moisture turn into live data. Change the environment and see the response instantly.
Make an LED glow, a buzzer sound, a servo move or a display show a message. Combine inputs and outputs to make the device feel alive.
Begin with dashboard controls and simple rules. Then open the code, use APIs and learn how the ESP32 makes the whole system work.
You do not have to start with a textbook exercise. Pick a challenge you care about, make a rough version, test it and add your own twist.
Measure soil moisture, show the result on screen and trigger a reminder when your plant needs attention.
Detect motion or a door opening, flash a warning and invent the perfect alert sequence.
Prototype a feeder, water reminder or temperature monitor—and decide how it should behave when nobody is watching.
Build a parking gate, adaptive streetlight or distance-aware crossing as part of a model city.
Combine a button, light, buzzer and timer to create a game your friends can play and improve.
A dramatic snack alarm? A desk that complains when it is too dark? Weird ideas are often the best place to learn.
Break a big idea into smaller tests, diagnose what went wrong and improve one part at a time.
Use inputs, outputs, conditions, timing and data—the building blocks behind apps, robots and smart devices.
Turn a prototype into a story: what problem it solves, how it works and what you would build next.
You do not need to know electronics or programming before you begin. Keyed connectors help reduce wiring mistakes, the local dashboard gives immediate feedback and the 32-week curriculum is there when you want a guided path. Prefer to invent freely? Jump into the project library.
MakerBuddy is designed for learners ages 10 and above. Young learners should build with adult supervision and every project must follow the safety guidance supplied with the kit.
Your next build starts here
Start with a quick win today, then keep upgrading it as your electronics and coding skills grow.