
Learning Objective
Use the embedded push button as a digital input and observe how a physical action becomes information on the dashboard.
Digital Inputs: The Push Button
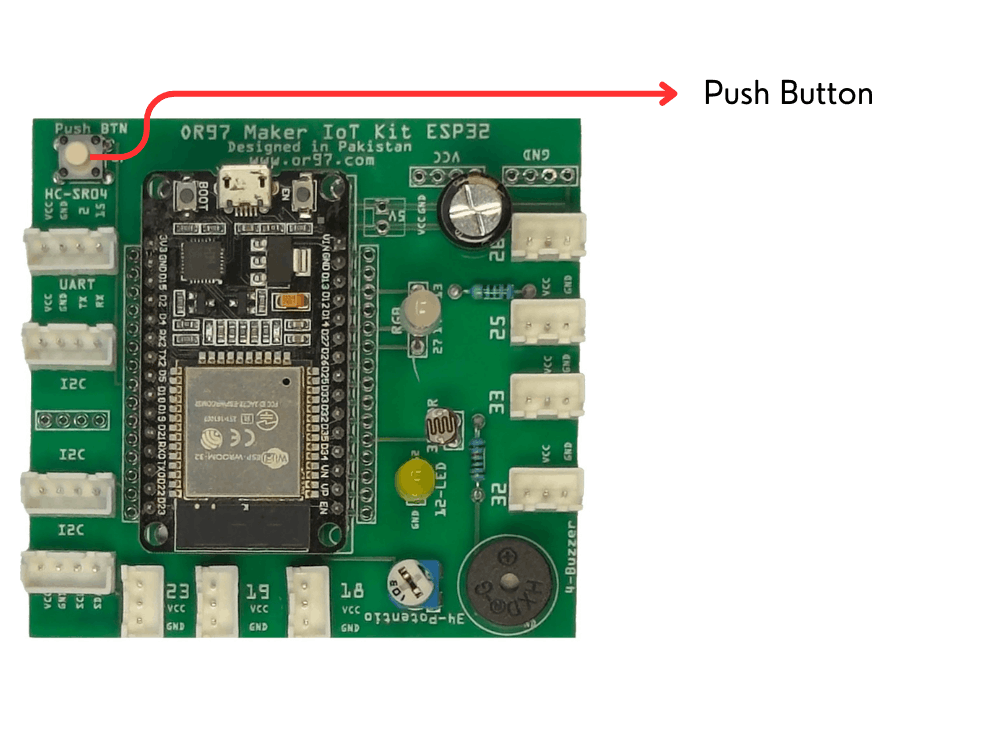
Hardware: embedded push button
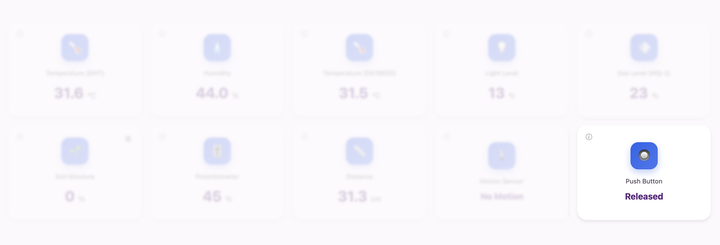
Dashboard: Push Button sensor card
Shows Pressed or Released.
From Press to Data
The push button is already embedded and connected on your MakerBuddy IoT Board, so no wiring is needed. A button has two useful states: pressed and released. The dashboard reads that state live, just as a doorbell, game controller or emergency stop button reports what someone has done.
Later, the Rule Engine can use this button state as a condition. For now, focus on observing a reliable input before asking MakerBuddy to react to it.
Activity: Button State Detective
- Power on MakerBuddy and connect the dashboard.
- Find the Push Button sensor card.
- Press and release the embedded button slowly. Watch the card change between Pressed and Released.
- Try a quick tap, a one-second hold and several repeated taps. Describe what the dashboard shows.
- Work with a partner: one student watches the dashboard while the other presses the button. Swap roles.
Challenge: Build a Reaction Test Plan
Design a paper plan for a reaction game. When a light turns on, the player presses the embedded button as quickly as possible. List the input, the output and the order of events. You will use this kind of input-to-output thinking in the Rule Engine later.
Key Takeaways
✓ Digital input
A button gives MakerBuddy a clear pressed/released signal from the real world.
✓ Embedded component
The button is part of the MakerBuddy IoT Board; students do not connect wires for it.